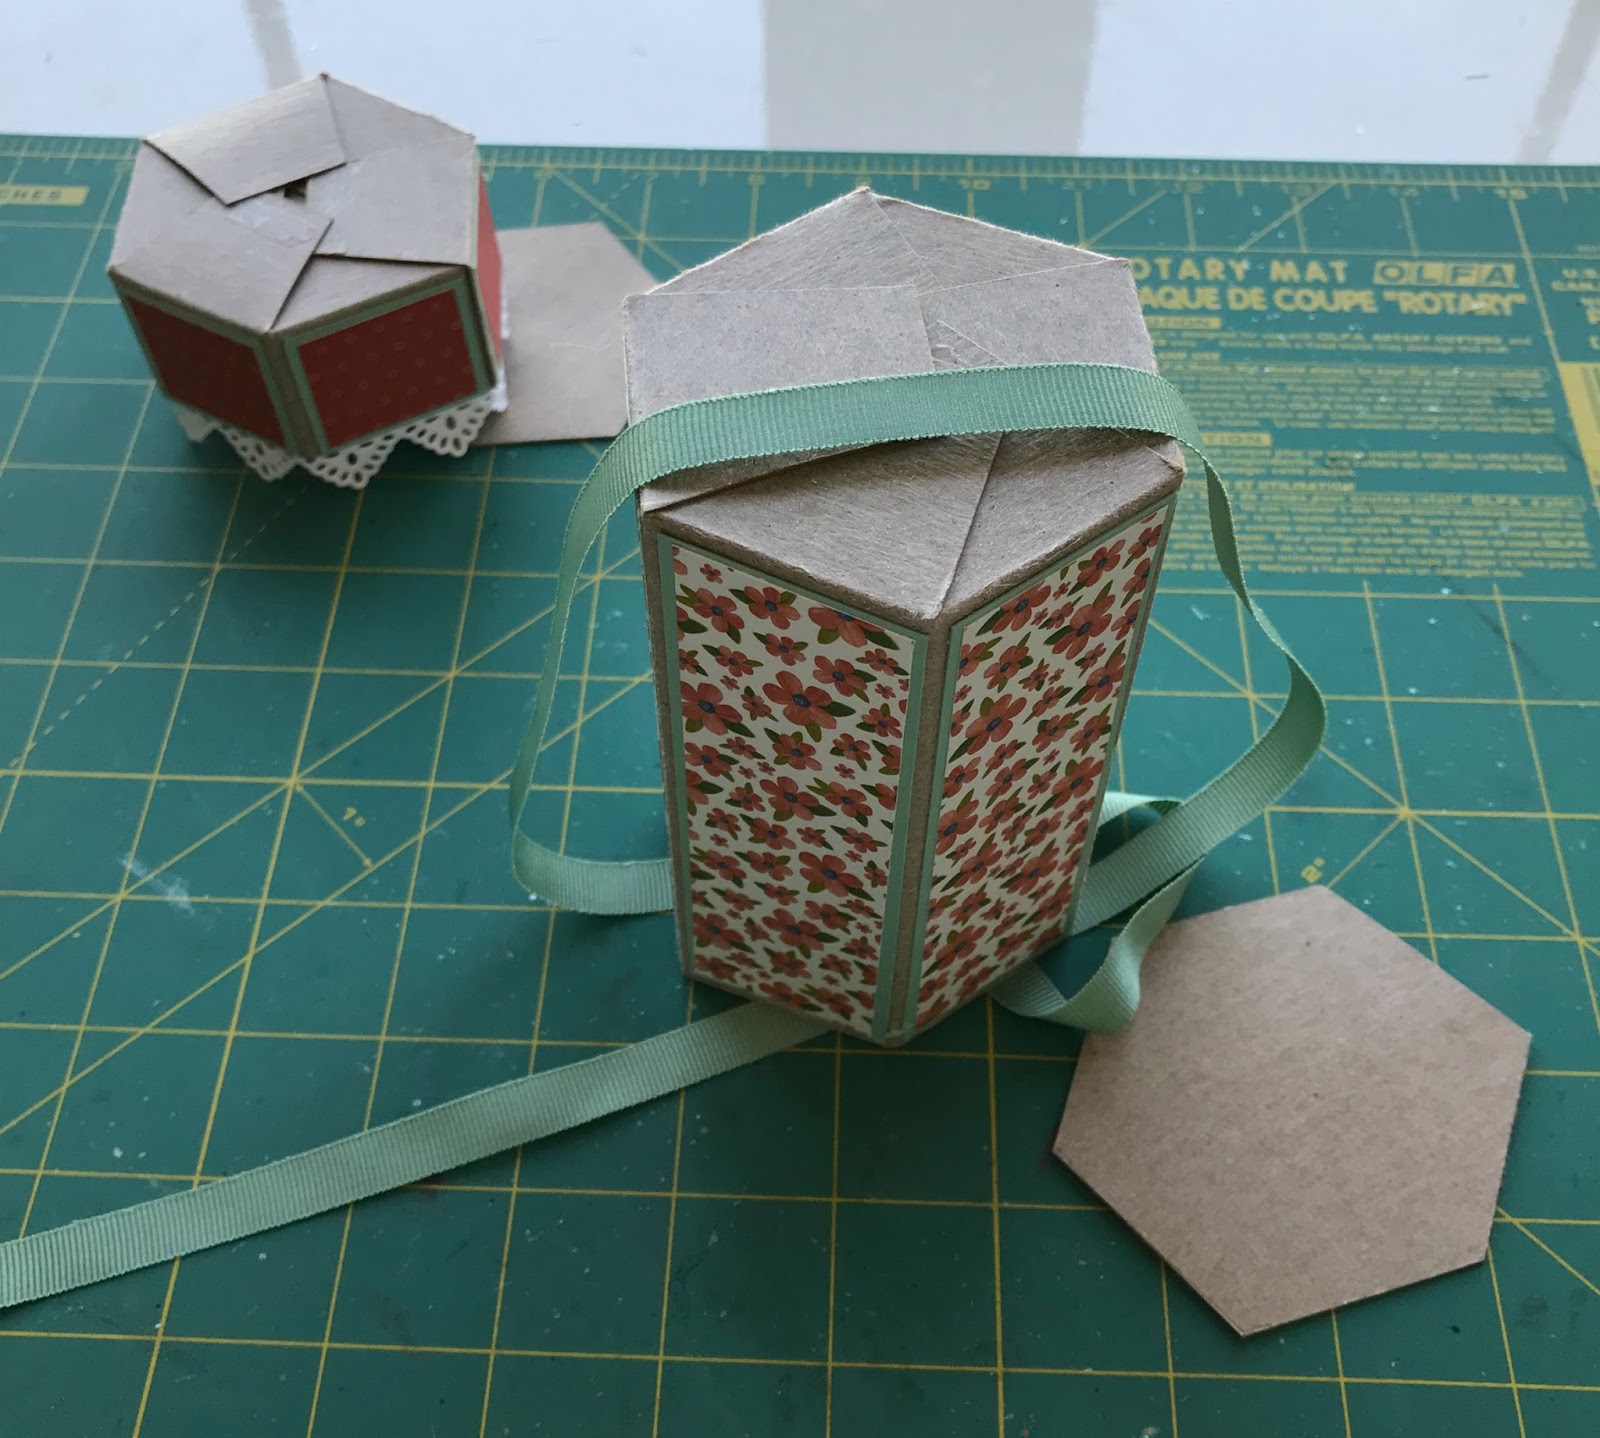
Hi! It's Meg here today with an easy tutorial on a flower-topped lidded hexagon box. What I love most about this project is that it requires almost no math, and therefore can be modified for different sizes quite easily.
Products used:
Light-weight chipboard
Patterned Papers
Ribbon
Glue gun or dimensional adhesive
Scoreboard and bone folder
STEP 1. Cut two pieces of chipboard, one piece 6" x 9.5" (Piece A), the other piece 2.5" x 10" (Piece B). Piece A will be for the box base, and Piece B for the lid.
STEP 2. Score both pieces along the long side, Piece A every 1.5": at 1.5", 3", 4.5", 6", 7.5", 9" and Piece B at every 1.5+1/16" (the extra is a seam allowance, so that the lid fits over the base). Then, flip over and score along the shorter side. Score Piece A at 4.5", and score Piece B at 1.25". Your scoring will look like this:
STEP 3. Cut off unwanted sections.
Your pieces should look like this when cut:
STEP 4. Time to assemble the box! Apply strong adhesive to the small edges of both pieces.
STEP 5. After decorating the panels, fold both pieces in half onto the tape to secure the walls.
STEP 6. Now it's time to work on the bottom of the box and the top of the lid. Fold up the remaining flaps (the ones that you tapered earlier) onto each other and secure with tape. Do this for both Piece A and Piece B.
STEP 7. To strengthen the box, trace 4 hexagons out of chipboard and cut out. Then, secure 2 of these to the inside bottom of both pieces. Before gluing to the outside bottom of Piece A, glue down your ribbon so that the ribbon is secured to the box.
STEP 8. Set aside your box base. It's now time to work on the flower for the lid. The last hexagon that you cut out will serve as your base on which you build your flower. It will help you determine how big to make your petals. Using the Small Nested Dies, cut lots of frames as shown:
STEP 9. After inking up the edges (if desired), cut each piece in half. Then, using a bone folder, curl the pieces. These are your petals.
STEP 10. Using the hexagon base as a guide, arrange the largest petals on top, 4 petals to every layer. Use a glue gun, dimensional foam, or dimensional glue to adhere the petals. Don't push them down hard, you want them to be fluffy. At first, it might not look "right".
Don't worry, just keep adding your layers.
By the time you're out of petals, your flower will look lovely!
STEP 11. Add a center to your flower. For this particular one, I rolled up some felt and glued it into the center. I've also tried filling the center with flowers from the Mini Cherry Blossom Die. There are so many things you can do at this step to make your flower "pop".
STEP 12. Glue flower to top of lid. Make sure you center your ribbon before applying glue, so that the ribbon can slide freely once the glue is dry.
Here's a photo of two flowers I made this way:
I hope you've enjoyed this tutorial. There are SO many flower variations you can make with the Nested Dies, I hope you give this project a go! And don't forget to try changing up the size of your box - easy peasy!
Hugs, Meg