


WELCOME to DAY 3 of our HOLIDAY TUTORIALS
featuring our latest Holiday 2023 Release
Tamara here sharing with you my tutorial:
- WINTER SHAKER CARD -

PRODUCTS:
SUPPLIES:
double sided tape
score board
scissors
liquid glue
acetate
white gel pen
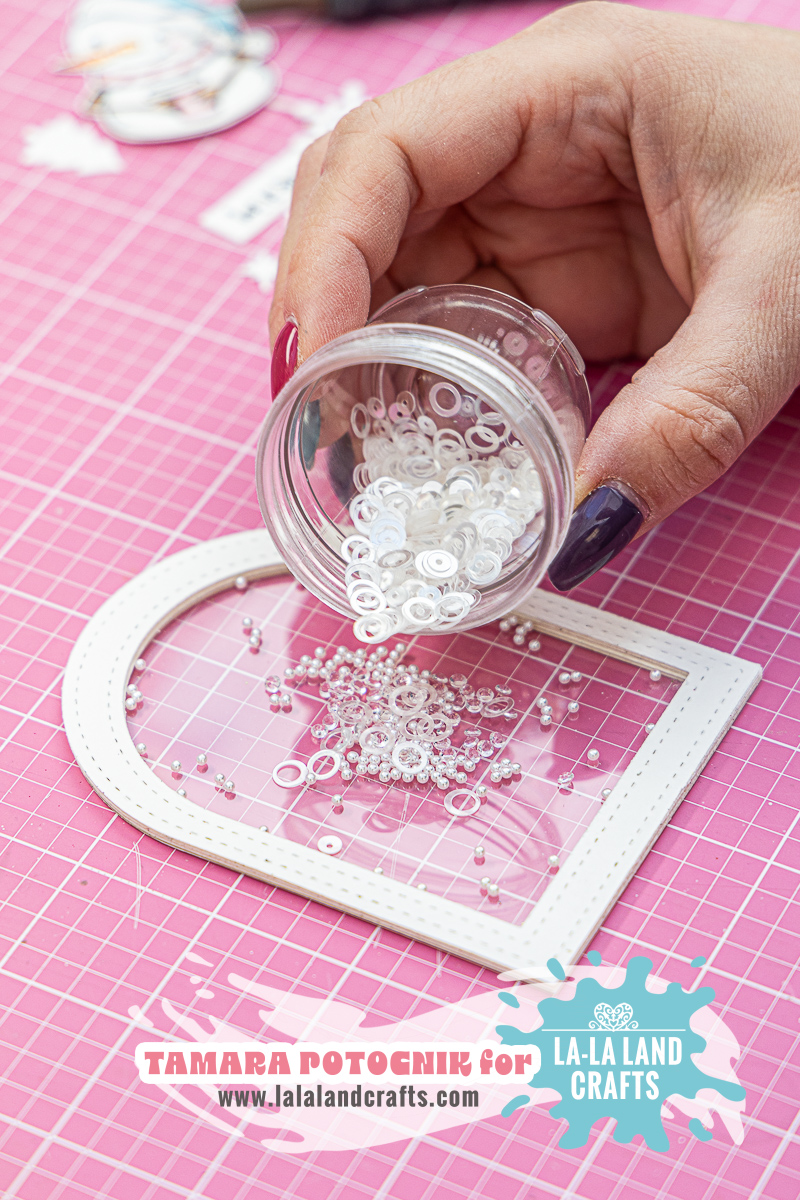
shaker pieces (diamonds, pearls, clear sequins)
DISTRESS INK PADS:
spiced marmalade
victorian velvet
vintage photo
broken china
worn lipstick
TUTORIAL:
Die cut from white card stock 2 of the largest arched die. Place them as on the picture so you get an arched frame. Cut 6 of these.

Take the largest arched frame and cut a piece from the design paper so you get a background for the shaker.

Add acetate to the back of one of the frames. Glue them together, the one with the acetate is the top one.


Add shaker mix of your liking.
Glue the bakground frame on (the one cut from the design paper).

Stamp your chosen image and sentiment and make diecuts (1 snowflake, 2 trees). Use Distress inks to colour up the image, then fussy cut it.


Once you have the shaker piece done you need to decorate the cardstock which will hold the shaker piece. Cut a white rectangle size 4" x 5 1/8" and add a bit of low tack tape on the top before using stencil. I used one of the newest stencils and made a pattern with white paste and then I covered it up with clear rock candy glitter.


... and that's it. You just glue this piece to the card base.

|
|
|
Thank you so much for visiting today!
Please come back tomorrow for another TUTORIAL!
Please come back tomorrow for another TUTORIAL!


Well done Tamara! Love this card!
ReplyDeleteAdorable shaker card! I love the arches dies and the darling snowman! Great detail with the stencil set for the glittered background design, and the Winter Time paper is beautiful too!
ReplyDeleteThanks for the perfectly detailed instructions on how to make your adorable card!
ReplyDeleteI love this card and how you cut out the frame from the paper pack it is so cute thanks for the tutorial
ReplyDeleteThis is super cute! Nadia Z.
ReplyDeleteI’m so excited and I have most of the stuff!
ReplyDeleteSo so cute
ReplyDeletei LOVE this shaker card!! so cute!!!
ReplyDeleteThis card is adorable! I love the shaker card design.
ReplyDeleteSo adorable love it like always
ReplyDeleteThese are soooooo cute!
ReplyDeleteThis snowman is sooo cute! For me coloring white is the most difficult.
ReplyDeleteI TOTALLY LOVE THIS CARD. THESE SNOWMEN ARE SO ADORABLE IN THAT STAMP SET. TYFS ..... :)
ReplyDeleteThis is gorgeous and I love the step by step instructions!! Great job
ReplyDeleteSuper cute!!!
ReplyDeleteCute! Fun shaker
ReplyDeleteLove it!
ReplyDeleteDebbie Adams: Love this card! I really like the use of the texture paste and glitter.
ReplyDeleteAbsolutely adorable! Love that paper & cute snowman. I order the stencil set, can't wait to get it and play!!
ReplyDeleteOh, this is so sweet. I LOVE the shaker aspect for the adorable snowman. LOVE THIS
ReplyDeleteThis snowman has such a cute expression and love he has a cute cup of cocoa!
ReplyDeleteVery cute!
ReplyDeleteGorgeous! Love all the little details.
ReplyDeleteThis card is gorgeous too! Just need my holiday box! Lou xo
ReplyDeleteShaker cards are so fun, so adorable 😍
ReplyDeletethese snowmen are adorable.
ReplyDeleteLove the shaker card Tamara. I love your coloring with distress ink.
ReplyDeleteEveryone should own these arched
ReplyDeleteSo beautiful. I love the white on a white background, and the snowman stamp is already on my wishlist.
ReplyDeleteLove this shaker snowman card!
ReplyDelete