


WELCOME to DAY 22 of our annual
24 DAYS OF CHRISTMAS TUTORIALS ADVENT EVENT!
24 DAYS OF CHRISTMAS TUTORIALS ADVENT EVENT!
Meg here sharing with you today my tutorial
- MERRY CHRISTMAS WREATH CARD -
- MERRY CHRISTMAS WREATH CARD -

This card is a load of fun (and die-cutting, so get an elf helper ready!), and very easy to make. It's stunning and with it's old-timey feel, will make for a beautiful last-minute Christmas card.
PRODUCTS
Simple Joys Background Stamp Set
Merry Christmas-2 Die
Mini Christmas Wreath Die
Staircase Die
CUTTING & SCORING
Kraft cardstock:
4-1/8 x 5-3/8" rectangle
3 - Merry Christmas Die (you will need the letters only)
White cardstock:
5-1/2 x 8-1/2" - fold in half for rectangle card base
5-1/4 x 4" rectangle
Red cardstock:
13 - bows from Staircase Die
Light and Dark green cardstocks:
13 each - Mini Christmas Wreath Die
Gold glitter cardstock:
2 - tinsel from Staircase Die
HOW TO:
Step 1. Stamp Simple Joys Background Stamp in brown ink onto Kraft cardstock. Center Merry Christmas Die onto white rectangle and cut out.

Step 2. Glue Kraft rectangle onto card base. (White rectangle shown after die-cut for reference).

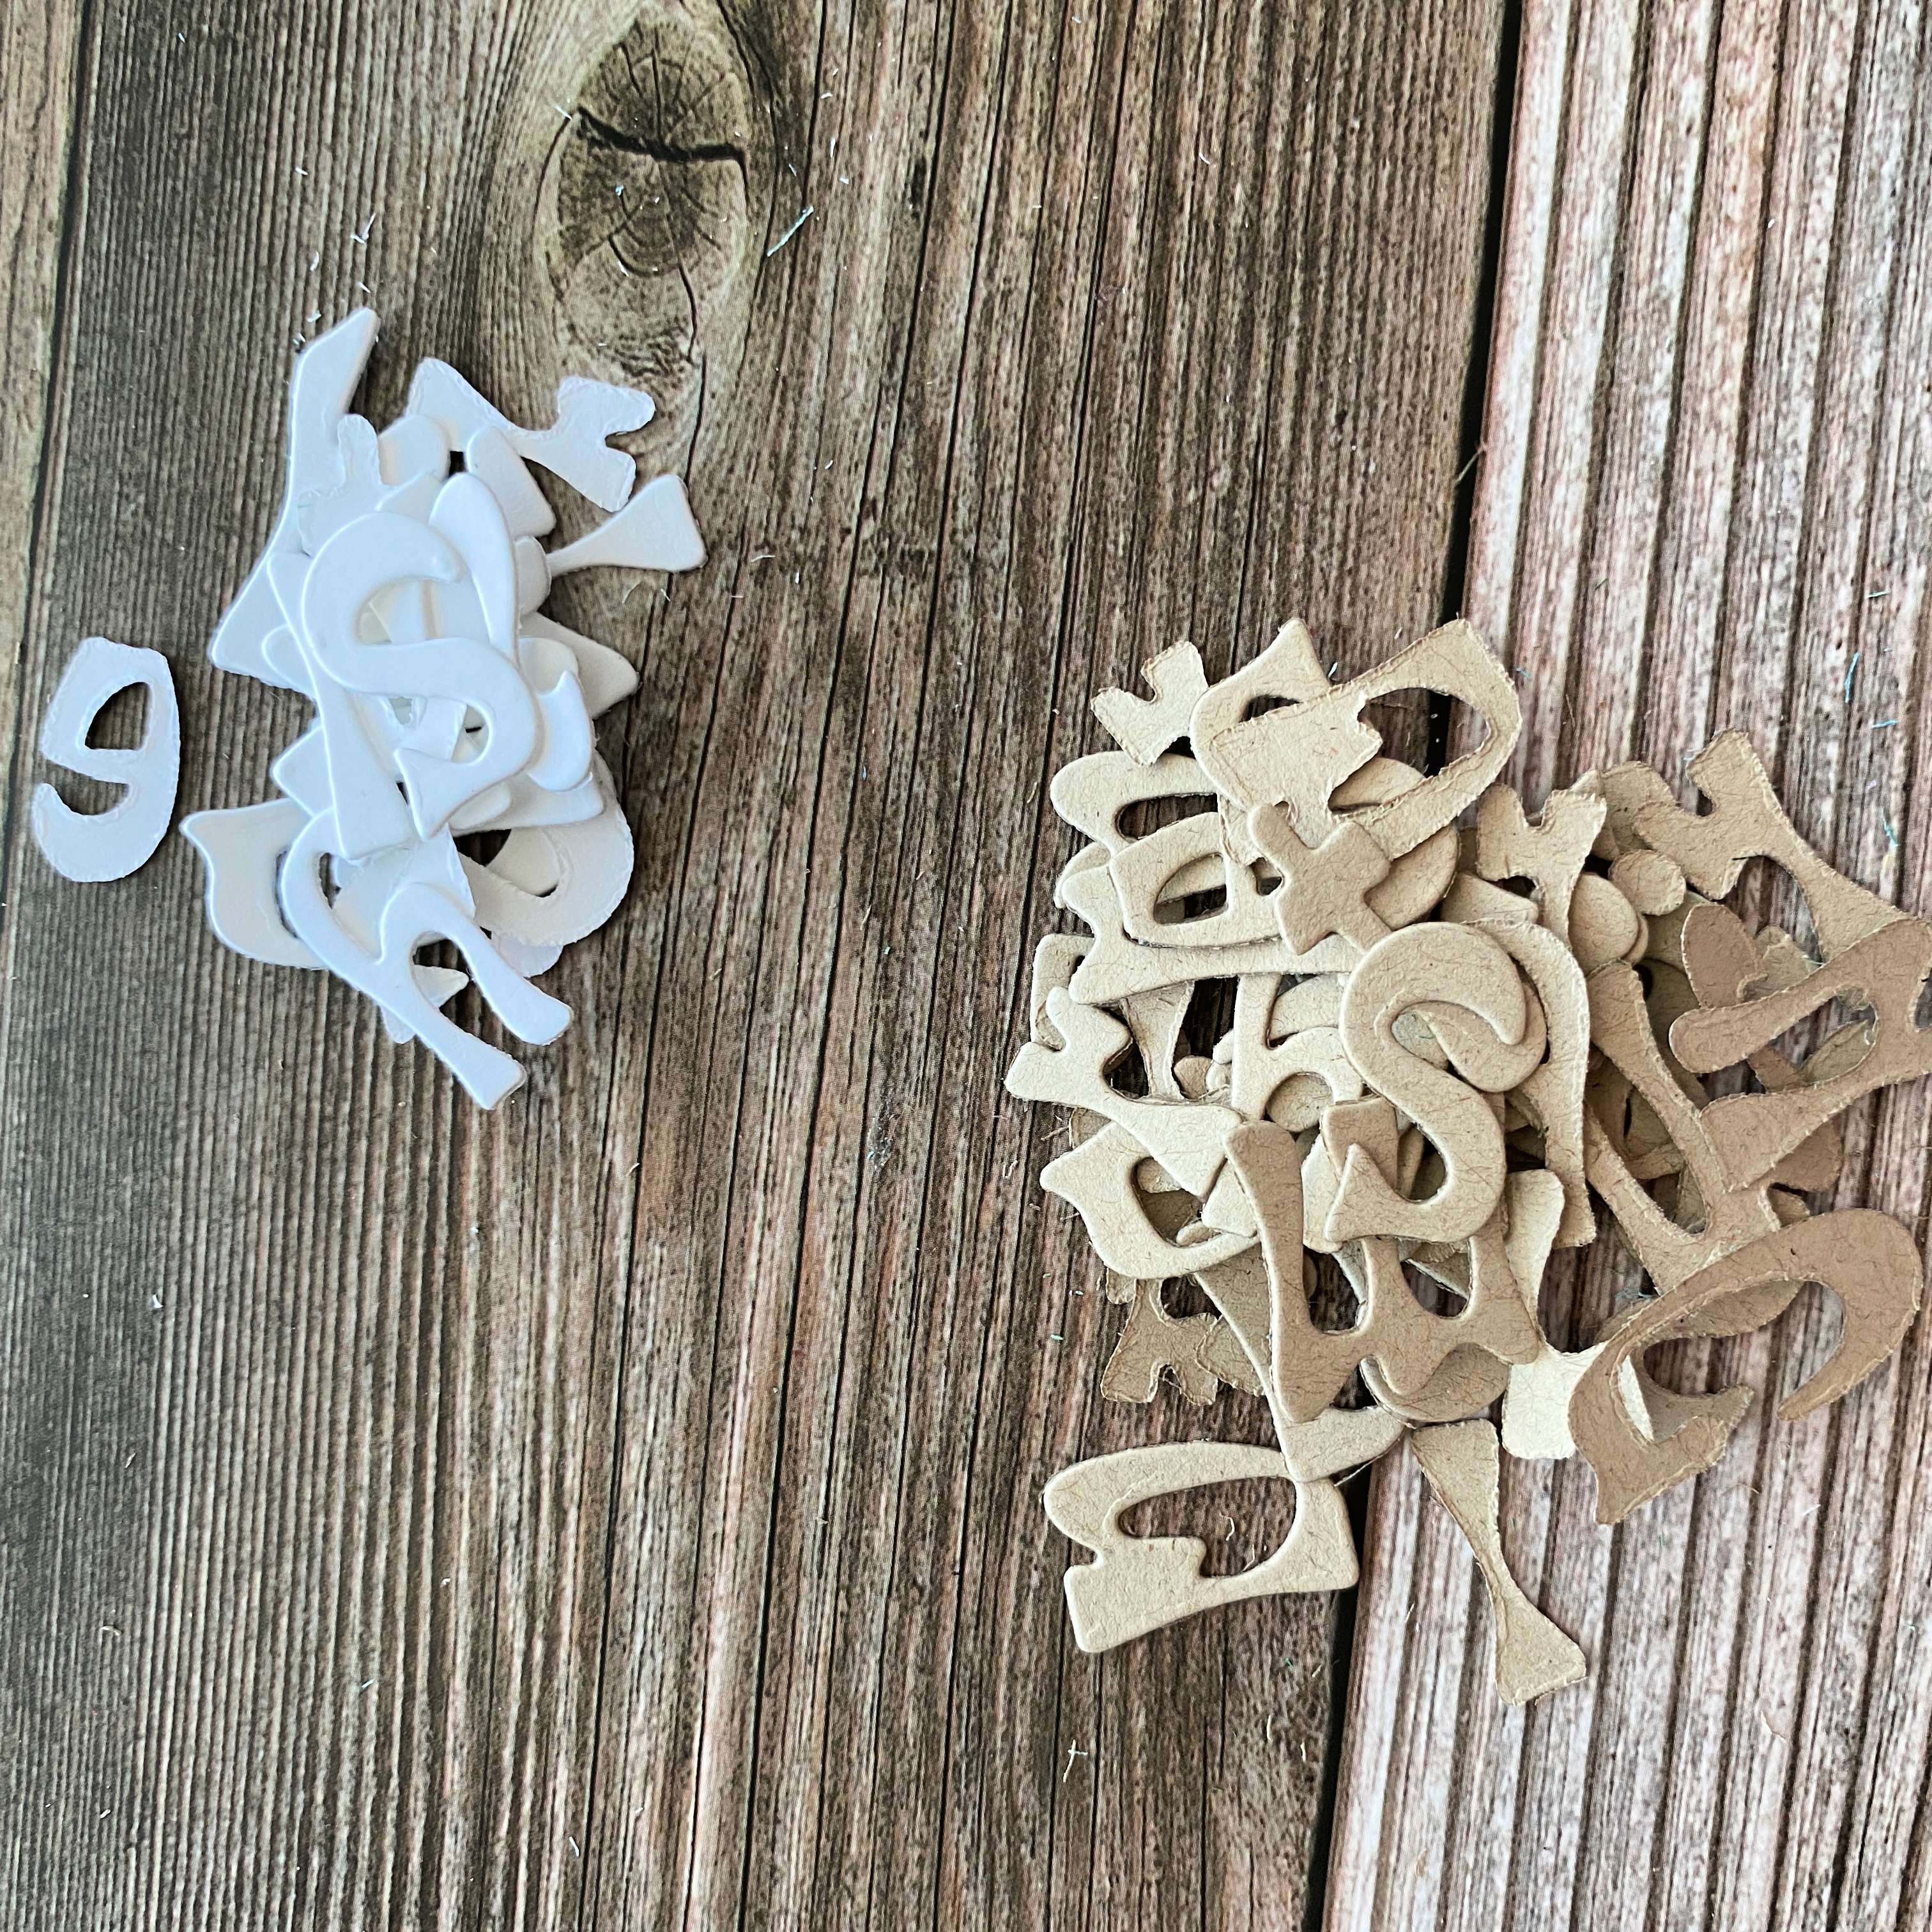
Step 3. Punch out all of the letters from the Merry Christmas Die you have already cut (3-Kraft, 1-white). Then, stack and glue them together, so that the white letters are on top (this creates "tiles" that are easier to work with).

Step 4. Center the white rectangle onto the Kraft card base, and then insert the outline piece from the Merry Christmas Die. Weigh these down, don't glue.

Step 5. Using this for placement, glue the tiles into place on the card base.

Step 6. Remove the white rectangle and the lettered outline.


Step 7. Set card base aside. Match 1 light green and 1 dark green wreaths, and glue together. You will end up with 13 wreaths total.

Step 8. Arrange the wreaths on the white rectangle. Glue in place. It's ok if parts overlap the edges, we will deal with that in the next step.

Step 9. Turn the cardstock over, and cut away any wreath parts that overhang the edge of the white card.

Step 10. Apply dimensional foam to back of white rectangle, and adhere into position on card base.


Step 12. Add bows and tinsel, and you're done! Merry Christmas!

---------------------------------------
|

|
|
|
|
|
|
|
|
Thank you so much for visiting today!
Please come back tomorrow for DAY 14 TUTORIAL!
Please come back tomorrow for DAY 14 TUTORIAL!
Martha
What a cute and clever card. I love it so fun I don't know how you all come up with these great ideas!
ReplyDeleteThe mass of wreaths looks so cute. I like how you used 2 different greens per wreath, and then added a traditional looking bow.
ReplyDeleteLove this !!!
ReplyDeleteSuch a brilliant idea! So cute! Love it.
ReplyDeleteWhat a nice card! 😍
ReplyDeleteSuch a cute card Meg 😊
ReplyDeleteSo pretty!
ReplyDeleteI love the little wreaths and bows! Such a fun card!
ReplyDeleteHermosa tarjeta!! Gracias por el tutorial, saludos desde México
ReplyDeleteOoooo, some fun techniques.
ReplyDeleteWhat a super unique and fun card!! I love how you have put this card together! Thank you for the detailed instructions :)
ReplyDeleteCute card! Reb bows help make it pop! <3
ReplyDeleteGreat way to use the Christmas wreath die and I Iove the Merry Christmas die.
ReplyDeleteSo many bits and pieces....and it turned out beautiful 😍
ReplyDeleteCute card & the layers really add some nice dimension to the letters and the wreaths. Thanks
ReplyDeleteJulie Zilka: Oh My Gosh, what a cute and creative card❤️I just love the mini wreaths!! Thank you for continuing teaching us out of the box ways to craft!!
ReplyDeleteLove all the layer's beautiful card!
ReplyDeleteLove the card.
ReplyDeleteLove the layers. Thank you!
ReplyDeletePretty layering
ReplyDeleteGorgeous card Meg - love this idea.
ReplyDeleteBeautiful! Love the paper and little wreaths.
ReplyDeleteI love this Meg - fabulous!
ReplyDeleteThanks for sharing your beautiful Merry Christmas Wreaths card! 🥰
ReplyDeleteGreat ieda, Dina
ReplyDeleteThis level card is so beautiful. I also love these text dies a lot.
ReplyDeleteLove from The Netherlands Marjolein
Very nice card
ReplyDeleteI love to watch and learn from such creative people
ReplyDeleteI've ordered the wreath die I may try this once I get it
ReplyDeleteCute card. Julie Lucian /Waetje
ReplyDeleteThe wreaths with the bows are beautiful. I absolutely love this.
ReplyDeleteGreat idea to continue to stretch our dies and make them even more useful!
ReplyDelete