Showing posts with label Christmas Advent 2022. Show all posts

Saturday, December 24, 2022

Christmas Advent 24 Days of Tutorials - DAY 24

 WELCOME to DAY24 of our annual

24 DAYS OF CHRISTMAS TUTORIALS ADVENT EVENT!

I CANT BELIEVE ITS THE LAST DAY!

Martha here sharing with you today my tutorial
- CHRISTMAS EVE MINI FOLIO - 


This is such a FUN and EASY Mini Folio!


TUTORIAL:
*please CLICK on the image below to watch the tutorial


PRODUCTS:
---------------------------------------
We also have a SALE during the event!!!

TODAY through December 25th, receive a 20% discount
on all La-La Land Crafts products in our online store
with COUPON CODE ADVENT2022! 

NO EXCLUSIONS!
NO MINIMUM PURCHASE REQUIRED!
click HERE to SHOP

PLUS A GIVEAWAY!
for your chance to WIN one of three $50 store credits to our online store:

Step 1. SUBSCRIBE to the La-La Land Crafts Youtube Channel.
*if you are a subscriber already - thank you!  you can skip to step 2.
click HERE to SUBSCRIBE to the LLLC Youtube Channel
Step 2. COMMENT on each of the VIDEOS during the first 12 days of Tutorials.
click HERE to WATCH and to COMMENT on Youtube Videos
Step 3. COMMENT on each of the BLOG POSTS from day 13 through 24.
click HERE to COMMENT on Blog Posts

 
Thank you so much for visiting today!
Pl

Martha

Friday, December 23, 2022

Christmas Advent 24 Days of Tutorials - DAY 23


WELCOME to DAY 13 of our annual
24 DAYS OF CHRISTMAS TUTORIALS ADVENT EVENT!

Susen here sharing with you a tutorial for a 
- CHRISTMAS GIFT BOX -  


In my tutorial I show you how you can make very quick little gift bags. Perfect for packing last christmas gifts. I love to make them because it's so easy.

If you still have any questions left, feel free to ask. 


TUTORIAL:
*please CLICK on the image below to watch the tutorial</ span>


PRODUCTS:

---------------------------------------
< div class="separator" style="clear: both; text - align: center;">
We also have a SALE during the event!!!

TODAY through December 25th, receive a 20% discount
on all La-La Land Crafts products in our online store
with COUPON CODE ADVENT2022

NO EXCLUSIONS!
NO MINIMUM PURCHASE IS REQUIRED!

click HERE to SHOP

PLUS A GIVEAWAY!
for your chance to WIN one of three $50 store credits to our online store:

Step 1. SUBSCRIBE to the La-La Land Crafts Youtube Channel.
*if you are a subscriber already - thank you!  you can skip to step 2.
click HERE to SUBSCRIBE to the LLLC Youtube Channel
Step 2. COMMENT on each of the VIDEOS during the first 12 days of Tutorials.
click HERE to WATCH and to COMMENT on Youtube Videos
Step 3. COMMENT on each of the BLOG POSTS from day 13 through 24.
click HERE to COMMENT on Blog Posts

Thank you so much for visiting today!
Please come back tomorrow for DAY 24 TUTORIAL!

Susen


Thursday, December 22, 2022

Christmas Advent - 24 Days of Tutorials - Day 22

WELCOME to DAY 22 of our annual
24 DAYS OF CHRISTMAS TUTORIALS ADVENT EVENT!

Meg here sharing with you today my tutorial
- MERRY CHRISTMAS WREATH CARD  - 


This card is a load of fun (and die-cutting, so get an elf helper ready!), and very easy to make. It's stunning and with it's old-timey feel, will make for a beautiful last-minute Christmas card.

PRODUCTS
Simple Joys Background Stamp Set
Merry Christmas-2 Die
Mini Christmas Wreath Die
Staircase Die

CUTTING & SCORING
Kraft cardstock:
4-1/8 x 5-3/8" rectangle
3 - Merry Christmas Die (you will need the letters only)

White cardstock:
5-1/2 x 8-1/2" - fold in half for rectangle card base
5-1/4 x 4" rectangle

Red cardstock:
13 - bows from Staircase Die

Light and Dark green cardstocks:
13 each - Mini Christmas Wreath Die

Gold glitter cardstock:

2 - tinsel from Staircase Die

HOW TO:

Step 1. Stamp Simple Joys Background Stamp in brown ink onto Kraft cardstock. Center Merry Christmas Die onto white rectangle and cut out.


Step 2. Glue Kraft rectangle onto card base. (White rectangle shown after die-cut for reference).


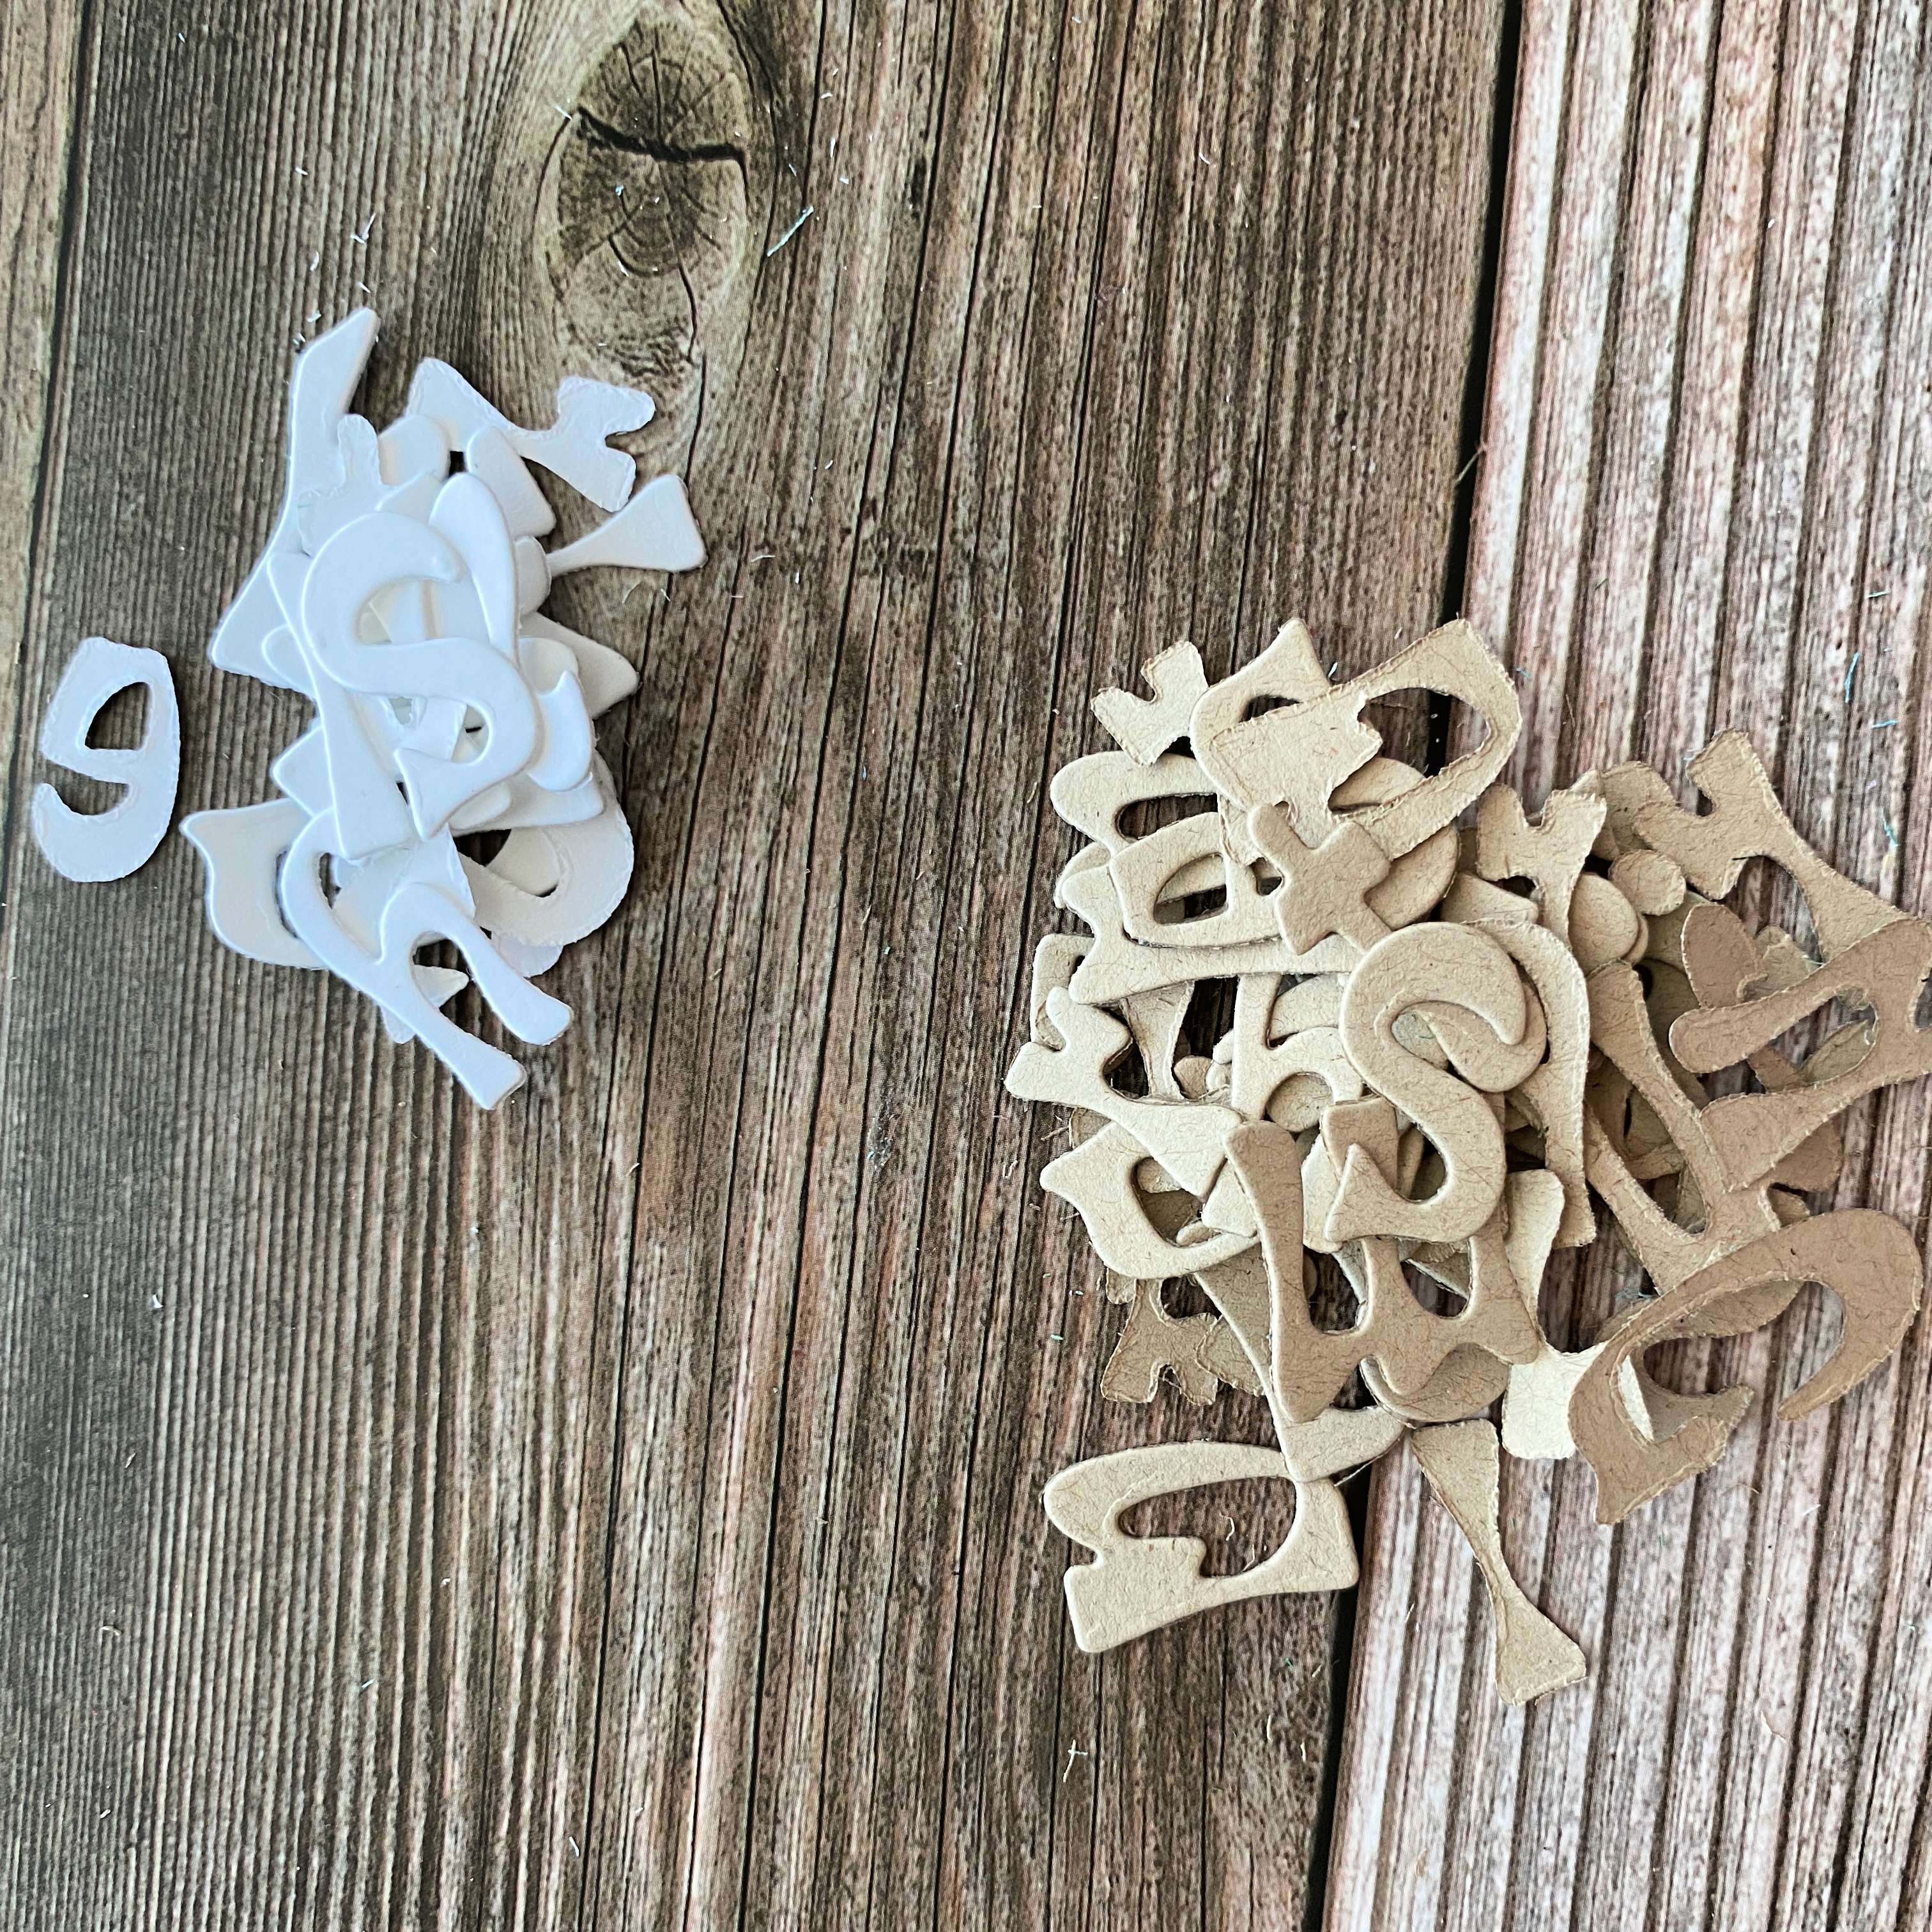
Step 3. Punch out all of the letters from the Merry Christmas Die you have already cut (3-Kraft, 1-white). Then, stack and glue them together, so that the white letters are on top (this creates "tiles" that are easier to work with).


Step 4. Center the white rectangle onto the Kraft card base, and then insert the outline piece from the Merry Christmas Die. Weigh these down, don't glue.


Step 5. Using this for placement, glue the tiles into place on the card base.


Step 6. Remove the white rectangle and the lettered outline.


Step 7. Set card base aside. Match 1 light green and 1 dark green wreaths, and glue together. You will end up with 13 wreaths total.


Step 8. Arrange the wreaths on the white rectangle. Glue in place. It's ok if parts overlap the edges, we will deal with that in the next step.


Step 9. Turn the cardstock over, and cut away any wreath parts that overhang the edge of the white card.


Step 10. Apply dimensional foam to back of white rectangle, and adhere into position on card base.


Step 12. Add bows and tinsel, and you're done! Merry Christmas!


---------------------------------------
We also have a SALE during the event!!!

TODAY through December 25th, receive a 20% discount
on all La-La Land Crafts products in our online store
with COUPON CODE ADVENT2022! 

NO EXCLUSIONS!
NO MINIMUM PURCHASE REQUIRED!
click HERE to SHOP

PLUS A GIVEAWAY!
for your chance to WIN one of three $50 store credits to our online store:

Step 1. SUBSCRIBE to the La-La Land Crafts Youtube Channel.
*if you are a subscriber already -thank you!  you can skip to step 2.
click HERE to SUBSCRIBE to the LLLC Youtube Channel
Step 2. COMMENT on each of the VIDEOS during the first 12 days of Tutorials.
click HERE to WATCH and to COMMENT on Youtube Videos
Step 3. COMMENT on each of the BLOG POSTS from day 13 through 24.
click HERE to COMMENT on Blog Posts

 
Thank you so much for visiting today!
Please come back tomorrow for DAY 14 TUTORIAL!

Martha

Wednesday, December 21, 2022

Christmas Advent - 24 Days Of Tutorials - Day 21

 WELCOME to DAY 21 of our annual

24 DAYS OF CHRISTMAS TUTORIALS ADVENT EVENT!

Alexandra here sharing with you a tutorial for a 
- CHRISTMAS WINDOW GIFT BOX -  


PRODUCTS:

PAPER CUTS & SCORING

White Cardstock:
8.5" X 9 5/8"
On the 8.5" side score at: 1/4" > 3" > 4 3/8" > 7 1/8".
On the 9 5/8" side score at : 7/8" > 2 1/4" > 7 3/8" > 8 3/4"
Patterned paper:
2 5/8" X 5" (2 pc)
1 1/4" X 2 5/8" (2 pc)
1 1/4" X 5" (2 pc)
Acetate:
3 1/4" X 3 1/4"

In the tutorial I will show you not only how to create the box, but also how to use your dies and create beautiful poinsettias and pine branches. 


VIDEO TUTORIAL:
*Please CLICK on the image below to watch the tutorial


If you are unable to see the video above, please visit this link
https://youtu.be/Gr05L4DypM4


We have a SALE during the event!


TODAY through December 25th, receive a 20% discount
on all La-La Land Crafts products in our online store
with COUPON CODE ADVENT2022

NO EXCLUSIONS!
NO MINIMUM PURCHASE IS REQUIRED!
click HERE to SHOP

PLUS A GIVEAWAY!
for your chance to WIN one of three $50 store credits to our online store:

Step 1. SUBSCRIBE to the La-La Land Crafts Youtube Channel.
*if you are a subscriber already - thank you!  you can skip to step 2.
click HERE to SUBSCRIBE to the LLLC Youtube Channel
Step 2. COMMENT on each of the VIDEOS during the first 12 days of Tutorials.
click HERE to WATCH and to COMMENT on Youtube Videos
Step 3. COMMENT on each of the BLOG POSTS from day 13 through 24.
click HERE to COMMENT on Blog Posts

Thank you so much for visiting today!
Please come back tomorrow for DAY 22 TUTORIAL!

Alexandra

Tuesday, December 20, 2022

Christmas Advent - 24 Days of Tutorials 2022 - Day 20

WELCOME to DAY 20 of our annual
24 DAYS OF CHRISTMAS TUTORIALS ADVENT EVENT!

Sandra here sharing with you today my tutorial
-Christmas Shaker Tag - 


Large Stitched Tags (2nd largest)

Copic Colors used:
Reindeer: E70, 71, 74, 77, R20
Poinsettia, Berries: R05, 14, 24, 27, 46, 59
Greens: YG23, 25, 61, 63, 67
Yellows: YR16, Y04, 35, 38
 
Supplies:
 Acetate
Scissors
Glue
Shaker Elements 
Distress Oxide Tumbled Glass
Washi Tape


Die cut as shown


Die cut as shown 4 times minimum in case you have large embellishments die cut 5 to 6 times


Glue the die cuts together except for one


Blend with ink the die you'll use as base


Add white splatters if you like


Stamp the sentiment


Cut the snowbanks to fit the size of the tag, glue the tag base and add the snowbanks


Put your embellishments onto the base, glue the acetate to the front and add the remaining tag die cut
Adhere your fuzzy cut stamp to the tag


Then decorate your tag with the poinsettia, some branches, twigs and berry branches and your done!

---------------------------------------
We also have a SALE during the event!!!

TODAY through December 25th, receive a 20% discount
on all La-La Land Crafts products in our online store
with COUPON CODE ADVENT2022! 

NO EXCLUSIONS!
NO MINIMUM PURCHASE REQUIRED!
click HERE to SHOP

PLUS A GIVEAWAY!
for your chance to WIN one of three $50 store credits to our online store:

Step 1. SUBSCRIBE to the La-La Land Crafts Youtube Channel.
*if you are a subscriber already -thank you!  you can skip to step 2.
click HERE to SUBSCRIBE to the LLLC Youtube Channel
Step 2. COMMENT on each of the VIDEOS during the first 12 days of Tutorials.
click HERE to WATCH and to COMMENT on Youtube Videos
Step 3. COMMENT on each of the BLOG POSTS from day 13 through 24.
click HERE to COMMENT on Blog Posts

 
Thank you so much for visiting today!
Please come back tomorrow for DAY 21 TUTORIAL!
 
Sandra