


Hello everyone! Welcome to Tutorial Thursday!
Kristine here with you today to share a tutorial with some tips along the way!
Today's tutorial is: Shadow Box 2 Ways
This is a super easy one where I show how to achieve 2 different looks with the same die!

PRODUCTS USED
Additional:

~ now for the tutorial you have been waiting for ~
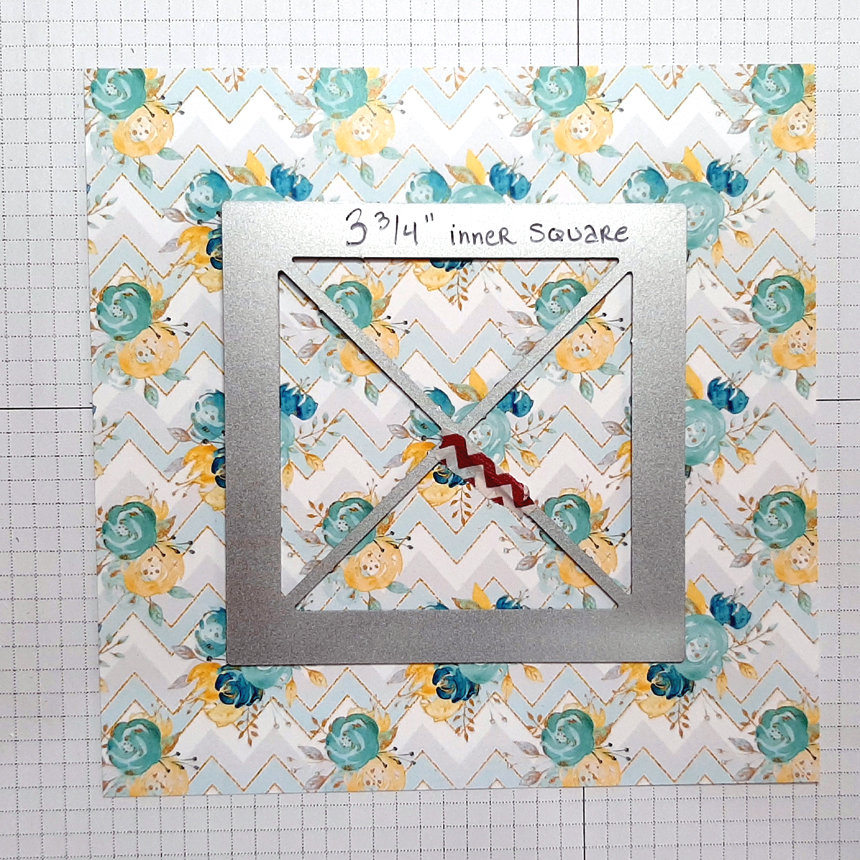
For BOTH ways, you would start out exactly the same! I centered the Shadow Box Die onto a 6" piece of patterned paper (from the Spring Has Sprung paper pack) and die cut.
Version 1:
The "normal" way to fold the box is, going from larger score to smaller: Fold DOWN then IN.
----
(*TIP: When die cutting smaller images, I like to die cut from the middle of my paper so I can use the remaining as a mat on another card! That's why you see weird shapes in the middle but ... it's all good because we're going to cover that up!)

Version 2:
In this version, you would Fold UP then OUT. Simple as that! ☺
(This version also gives you the option of flattening the box by simply pushing down and in on those flaps to put into an envelope for mailing!)

All that's left is decorating the inside of your shadow box!
For both versions, I die cut the largest square from the Double Stitched Squares Die.

This size fits perfectly inside our Version 1 shadow box!

I turned it onto the backside and glued my square to the flaps, making sure they were all squared up!
---
*TIP: If you are wanting to fold this flat to fit into an envelope, you CAN decorate the square and not glue it in! You can unfold the flaps so it's flat, place the decorated square on top and tuck inside an envelope with a photo of your completed shadow box and a note so your recipient will know how to display their card! IF you choose to do it this way, then you would SKIP the next part of gluing tabs to hide the corners.
---
As you can see in the photo above, you will have some open spaces in the corners - you can leave it that way... OR you can cover them up!
To cover those corners, I cut 4 pcs. that are 3/8" x 1-1/2" (approx)

I bent them in half and glued to either side of the open corners as shown below.

I then die cut my butterfly and adhered with foam dots to my square. I also placed some light teal colored sequins around. You could add a sentiment and anything else to your liking!
Lastly, attach your shadow box card front to top folding card base!

For Version 2, I decided I wanted a li'l pop of yellow breaking up my 2 patterns, so I cut a square of yellow cardstock at 4-1/2" and die cut the largest die from the Inverted Scallops Squares Die from the middle.
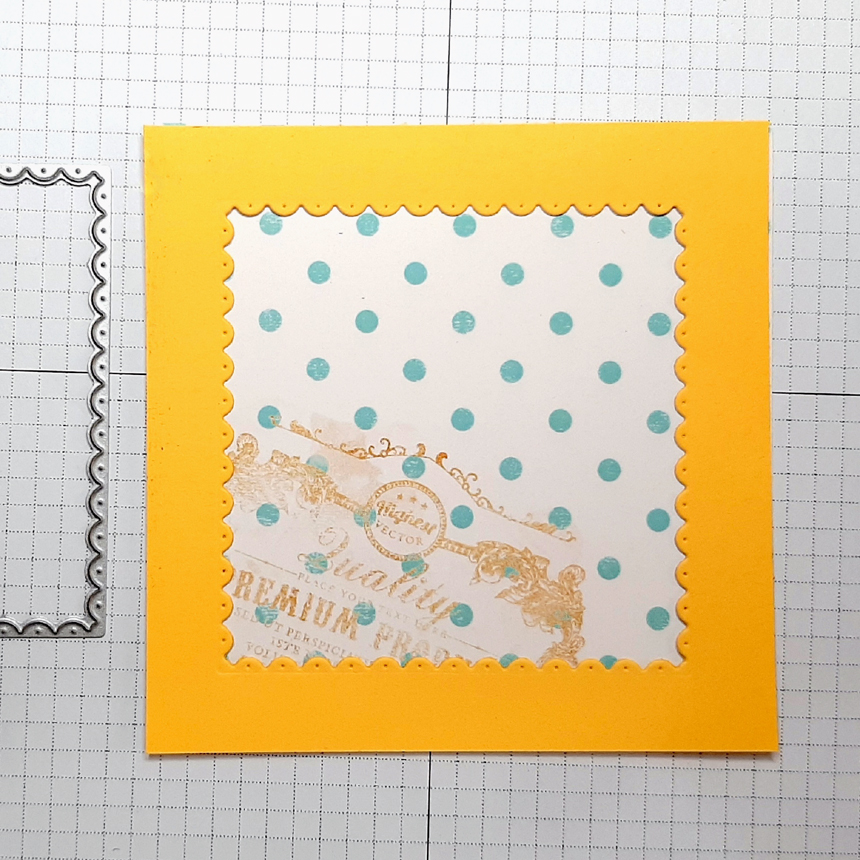
I attached the yellow behind my card front first by flattening the flaps down a bit so I can see that the yellow is centered.
I then attached my middle square behind the yellow scalloped piece.

I die cut my butterfly from teal and gold cardstock. *TIP: If you have the Crossover Machine you can adjust the pressure settings so it will not completely cut through your cardstock as it did with my gold butterfly!

I then glued my teal dies on top of the gold. and attached to center of my card with foam dots!

And lastly, I attached to a 6" top folding card base and then strategically places some sequins here and there and Voila!

We hope that you are inspired to try out your own creation with the amazing stamps and dies from La-La Land Crafts!
Make sure to join our LLLC FAN GROUP on Facebook for more ideas,


inspiration and a general chit chat about our products!
Hoping you all have a great week of Creating
KRISTINE
Click on the buttons below to find us on these social media sites:
No comments:
Post a Comment