


Hi there friends! Allison here with a new tutorial for you. A sweet
little box I seen on Pinterest with a small drawer and a easel top of course with a
La-La Land Crafts twist.


LLLC Products:
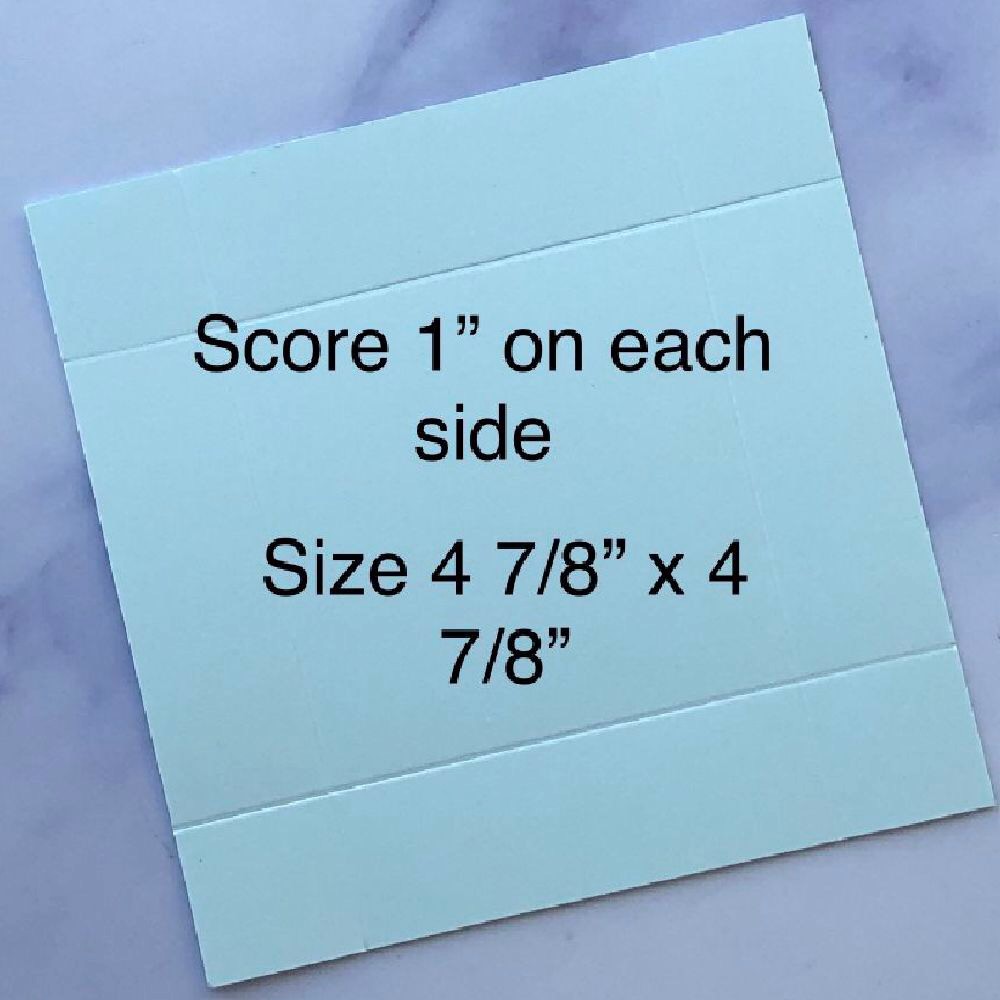
The Drawer
You will need to cut your card stock at 4 7/8" x 4 7/8" then score on all 4 sides at 1"
The Easel
Card Stock is to be cut at 6" x 3". On the long (6") side score at 1 1/2 " and 3"
The Drawer sleeve
Card stock is to be cut at 9" x 3" and score at 1",4",5"and 8"
Assembly
Starting with the drawer I cut the card stock at 4 7/8" x 4 7/8" and scored 1" in on all 4 sides. I then cut small triangles on the side score lines to help in folding the drawer.

After your score lines and slits are cut in you can now liquid glue the drawer together.

The Drawer Sleeve (This is the part that the drawer slides in and out of) I cut my card stock at 9" x 3" and scored at 1". 3", 5", 8" then folded along the score lines and glued together with liquid glue.


I used one of the La-La Land Craft Large Stitched Tags and glued to the easel top to decorate. I trimmed the bottom off the tag so it became the same length as the box.

The Tag
To decorate the tag I started with a light grey card stock. I die cut the double stitched circles and the pierced scallop circles and trimmed off the bottom 1/4 - 1/2" of them to make them flush with the bottom of the tag. I used some distress oxide ink in scattered straw for the center of the circles and used the polka dot plate die to create a polka dot pattern in the center.
I added some grass patches and flowers in front of the circle and used this beary sweet bear holding his jar of hearts.
The Box
For the top of the box I used the negative polka dots plate die as a stencil to add a subtle polka dot pattern to a scalloped circle that I glued down to the top. Some Hibiscus flowers and leaves were glued down to the corner. On the sides of the box I added the Polka Dots Plate die cuts with distress oxide in scattered straw behind.

The Drawer
To finish the drawer I added grey card stock and a handle die cut from the Suit Case Die cut set.

Coloring Details:
Bear - E55, E53, E51, E50
Flowers - YR31, YR30
Greens - YG00, YG23, YG21
Hope you enjoyed this easy tutorial. Have a healthy and happy crafty week.
Allison
No comments:
Post a Comment