Supplies:
1 piece 5" x 12" white cardstock
4 pieces 6" x 4.75" white carstock
Patterned papers
Dies
Ribbon
Dies Used:
Stamps:
How to:
1. Taking the 5" x 12" piece, score at 1.5, 1.75, 6.75 and 7"
Turn the card and score at 1.5".
Score again at 1.25in, just between the 1.75 and 6.75 score lines.
Turn the card so that the bottom (1.5in scoreline) is facing up to the numbers on the score board. Score at 4.75in and 10.75in, just up to the 1.5in score line.
This is a close up of what it should look like at this point.
Cut away the pieces marked below
This is what it should look like now
Taking the patterned papers, cover all the inside panels as desired. There is no need to cover the inside of the card pocket.
Working on the outside, add the patterned paper to the front and the 1.5" flap. Don't cover the back yet. Turn the whole thing so that the 1.5in flap is on the right. (it will be upside down).
Add a strip of double sided tape or ribbon glue about 0.75" from the right hand side of the back panel and secure the ribbon before adhering down the patterned paper.
To complete the pocket inside, add some double sided tape, or wet glue to the outer tabs and fold under, adhering to the back panel.
On the back of the paper pack I spotted this quote and decided to use it. I cut it out with a scissors, adhered it to a stitched oval and used it as my focal element on the front.
I embellished the front with Cherry Blossom Flowers, Pretty Poinsettia leaves and Fancy Label(May Club Kit) Dies
To make the cards:
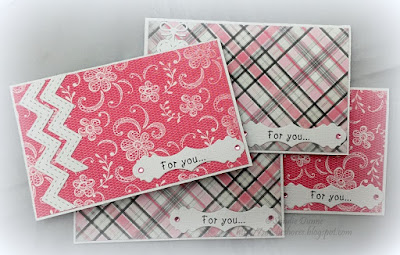
Fold the 6" x 4.75" card pieces in half to make 3" x 4.75" cards. Cut some patterned papers a little smaller than the card front and adhere down. Embellish the cards using various Dies, as desired.
Sentiment is from Garden Marci rubber stamp
Finally, I added an Open Hearts Doily Border to the back.
You can find all of our Tutorial Thursday projects over on our Pinterest Board.
Sandie
xXx


No comments:
Post a Comment