Showing posts with label Copic Marker Holder. Show all posts

Thursday, November 21, 2013

Tutorial Thursday - Faux Wood


Hi all - Debbie here with you today to show you how to create a "faux wood" look. I was asked to do this after I put my La-La Land Sketch Copic Marker Stand together using this method. It took me a little longer to do than I had hoped due to having to work out the colours using currently available ink pads - some of the ones I used  on my copic stand have been discontinued.


Apologizes for all of the photos - I have cut them back to as few as possible but I thought it would be good to show you how it all progresses.


The first thing you need to do is to collect your bits and pieces. Today I'm using one of the La-La Land Trinket Boxes. The inks I'm using are Distress Inks in Wild Honey, Gathered Twigs and Vintage Photo. You'll also need a white ink pad. I usually use my Stampin' Up one but it seems to have gone missing in my craftroom so I grabbed my Brilliance Moonlight White dew drop instead.
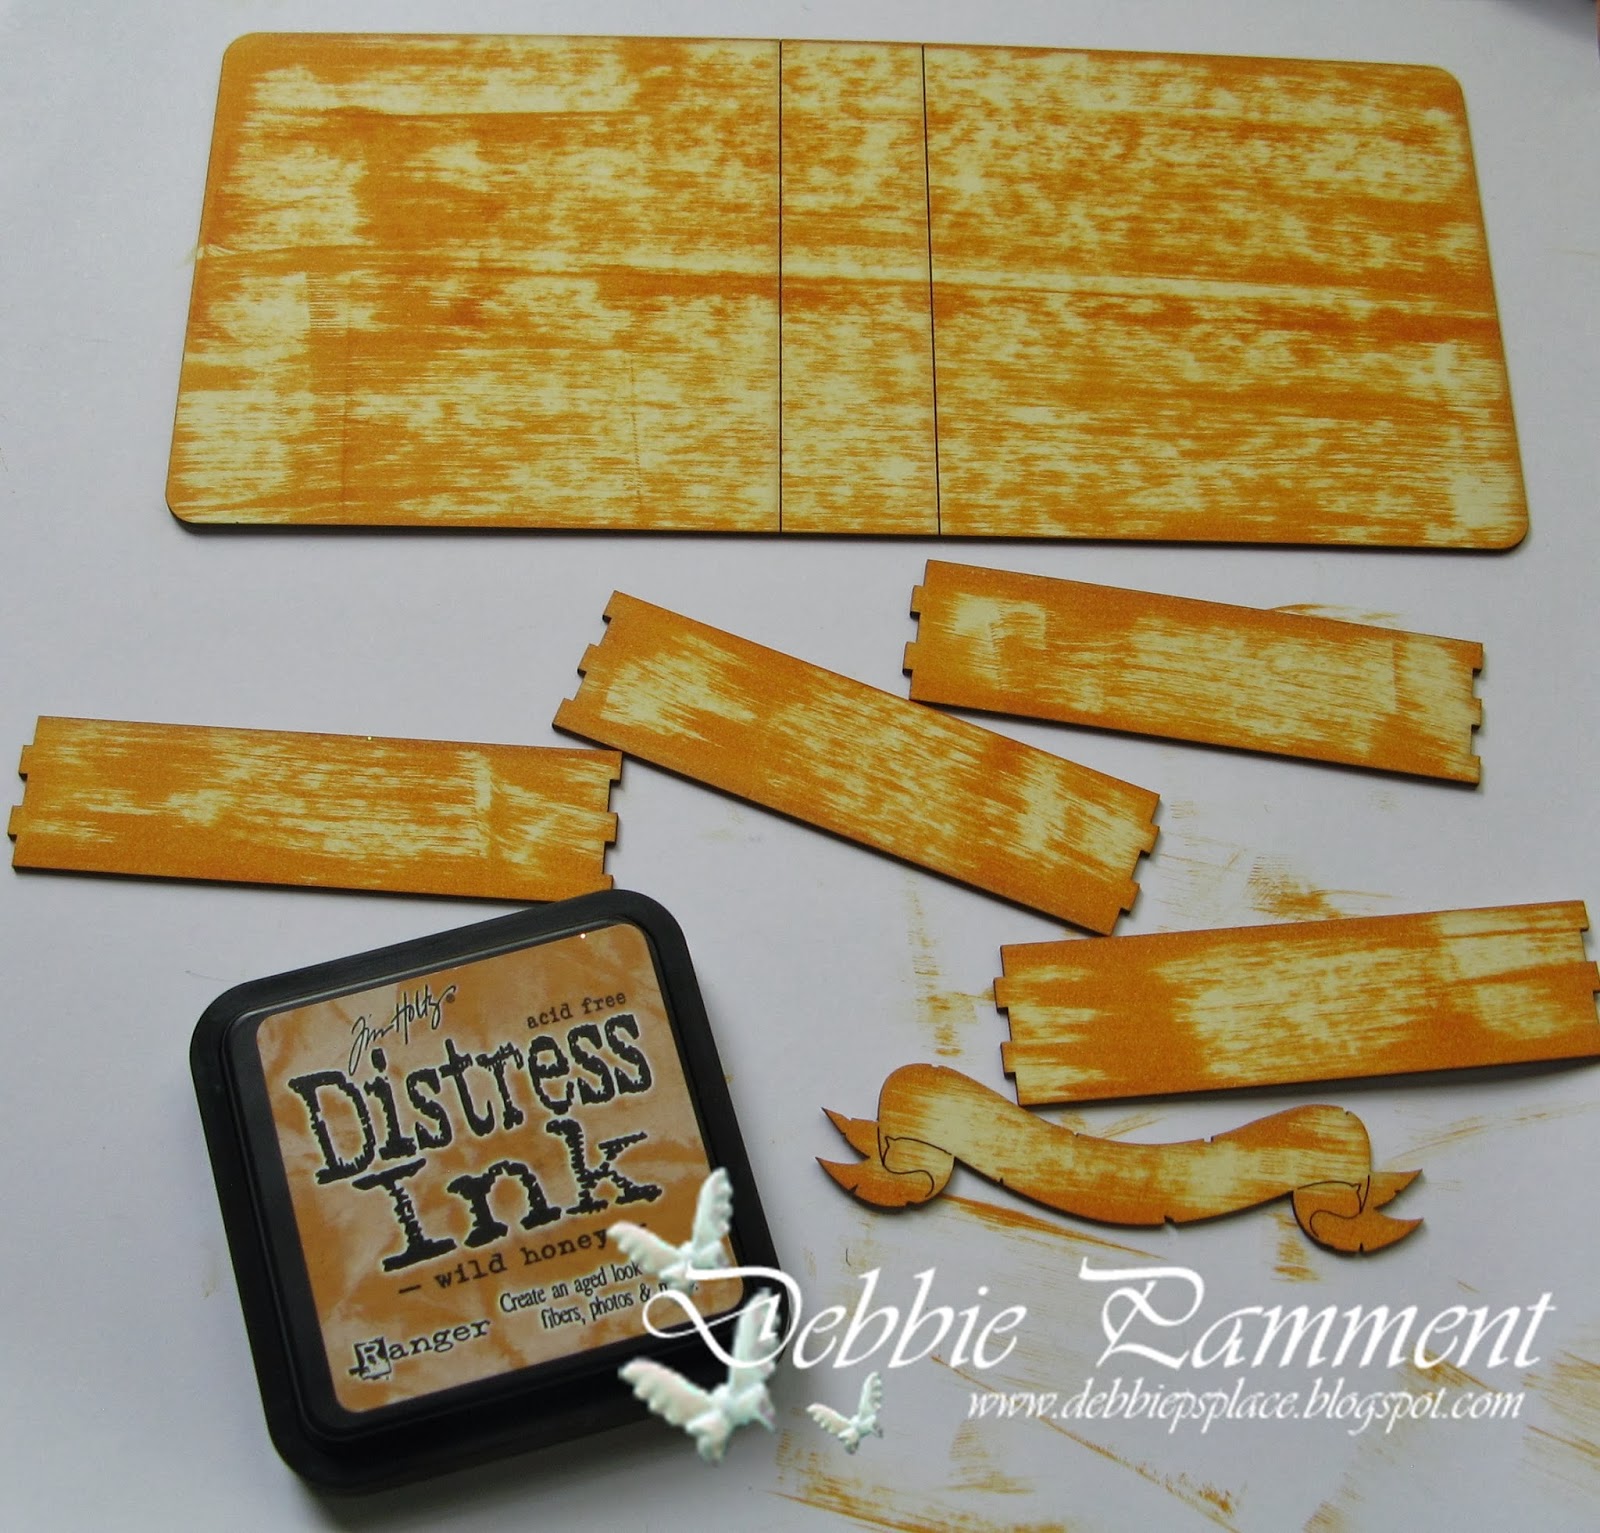

Grab the Wild Honey and drag it across the surface of the trinket box.


Follow up with Gathered Twigs......


....and then Vintage Photo.


The white goes on next - but drag it in selected areas rather than all over the surface. White ink usually stays wet longer so step away for about 10 minutes and let everything dry.


Once everything is dry re-layer on the Wild Honey and Gathered Twig until you are happy with the result. Add Vintage Photo sparingly at this stage if desired. 
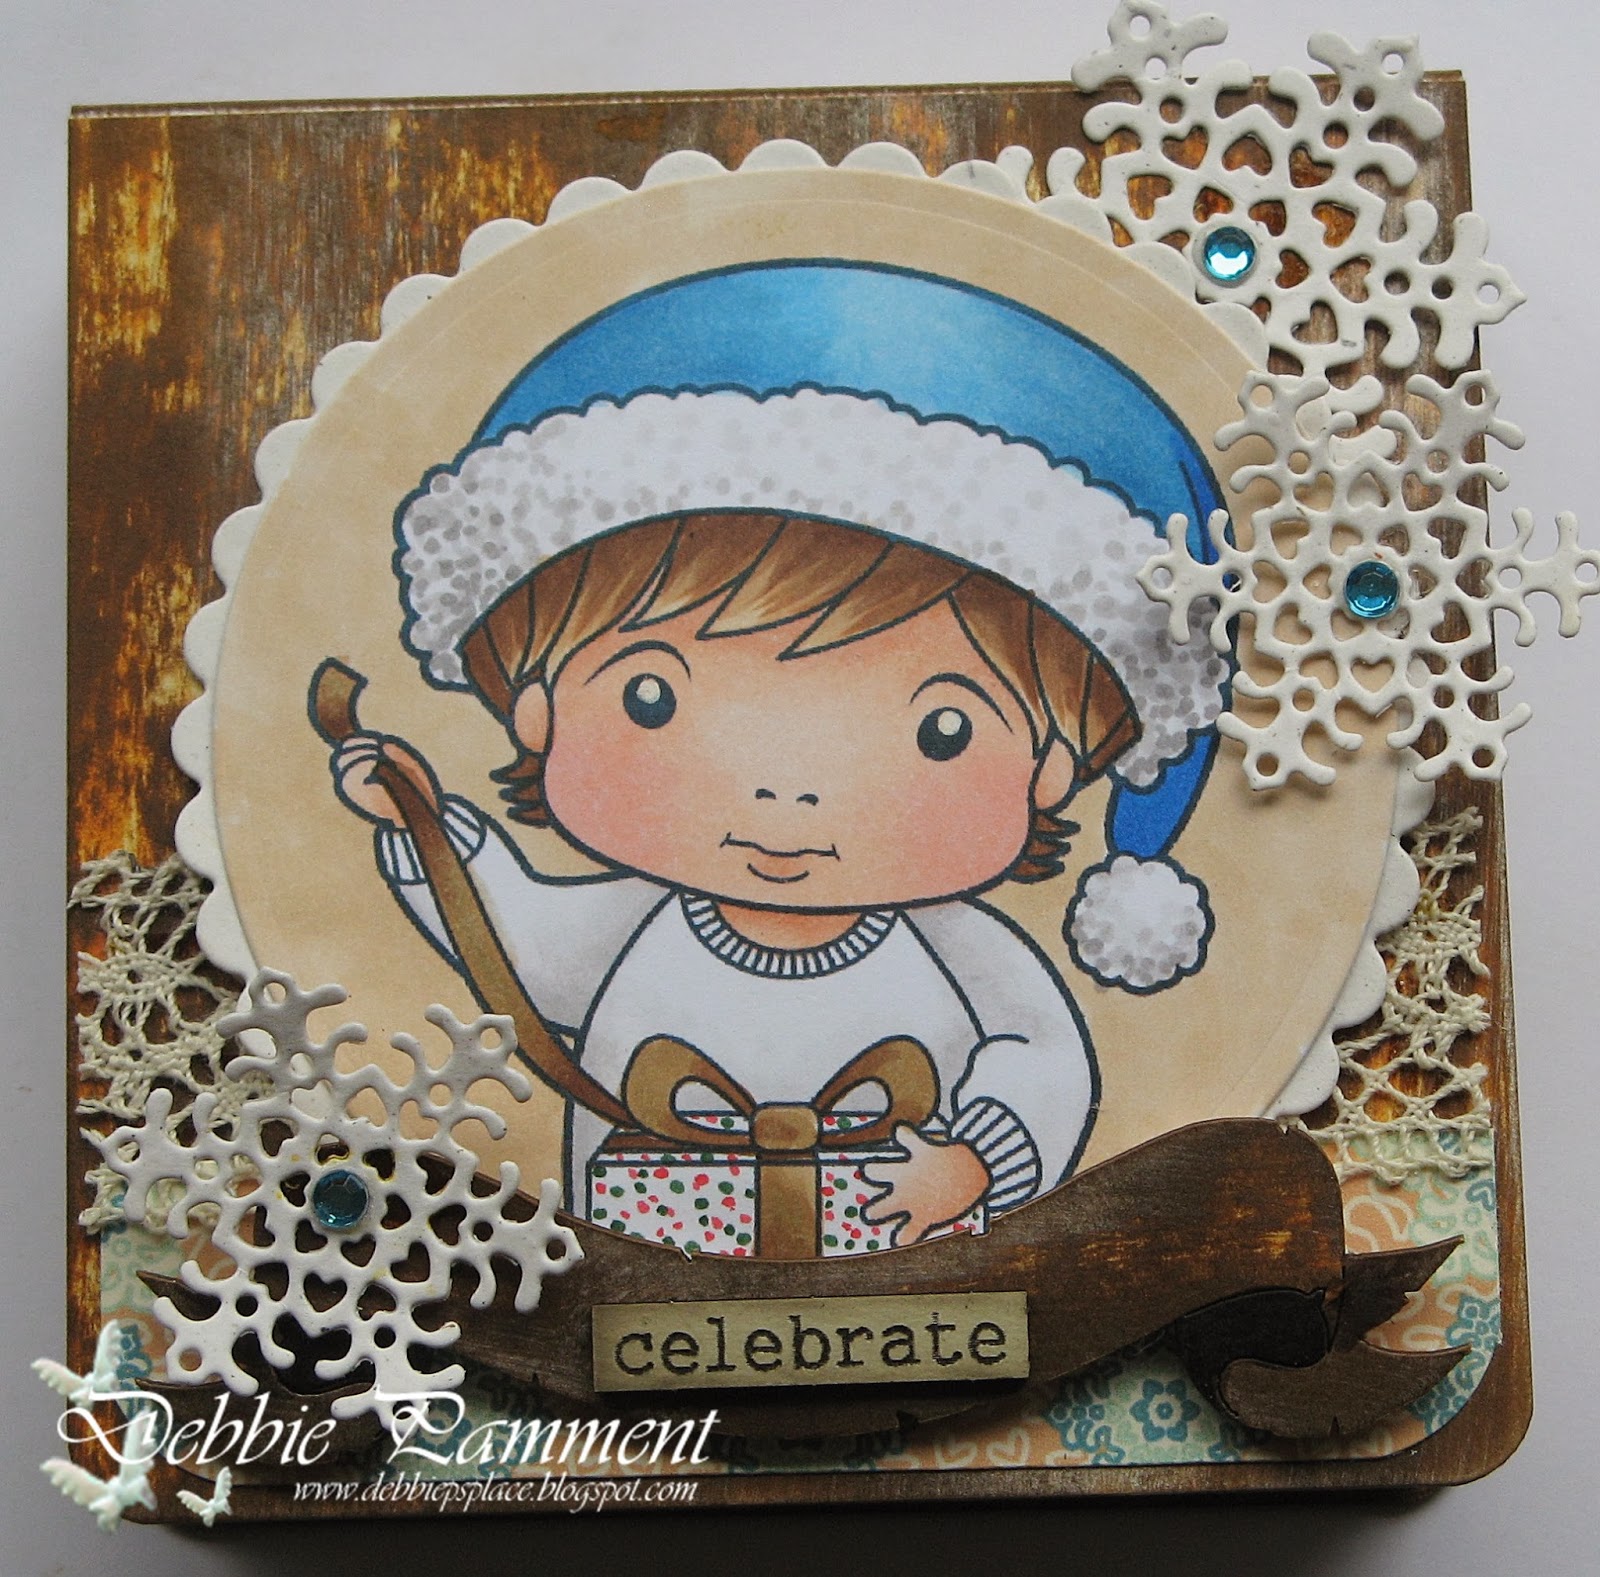

And here's the trinket box decorated up using a digi paper from La-La Land's Retro Christmas set (the whole inside of the trinket box has been lined with this paper too), Christmas Present Luka and Heart Snowflakes.

I hope this inspires you to give this technique a go yourself - it looks great done on paper and used as a background too.

Debbie 
xXx

Thursday, October 3, 2013

Tutorial Thursday - Copic Holder

~ Copic Holder ~ 

Hello, it is Sue here with today's Tutorial Thursday, sharing my decorated Copic Marker Holder


Firstly, get your supplies together:
Choose your marker holder
Flat black spray paint
A good quality glue
markers of your choice -mine are R46 and R59
Mister Huey's color mists- silver
Crystal effects/ Modge Podge
Bling, I have used AnnaBelle's Icicle sprinkles and hearts
Bamboo skewers
Cardboard box


Place all the pieces into the cardboard box, lift them off the bottom of the box by sitting them on the bamboo skewers.
Coat with 2-3 thin coat of spray paint on both sides


When fully dry assemble the holder, making sure you use a good quality glue.  Allow to dry overnight.
If you are unsure, follow Irina's fabulous tutorial here for the sketch/ciao and here for the horizontal one.

once assembled, spray with some Mister Huey's silver colour mist- this will take a while to dry.

While waiting for the holder to dry, move onto colouring in the accent pieces.
The heavy weight paperboard they are made from takes very well to Copic markers, you can either use them straight from the marker or air brush the colour on.
The best part about using the Copic markers, is they dry instantly.
Coat the coloured accent pieces with Crystal effects or Modge Podge.

Attach to the Marker frame and finish off with some bling!
It is that easy!


 Fill with your markers and you are all done!


 I hope you have enjoyed today's tutorial, and we look forward to seeing your creations
You can share them with us at  La-La Land Crafts by adding your creations to our Facebook Page or Twitter 

Happy Creating 

Sue

Thursday, July 18, 2013

Tutorial Thursday - Painting Copic Marker Stands with Distress Inks


Hi!! It's Sandie here and today I want to share with you how I altered my Copic Marker Holders with Distress Inks. 


Supplies -
Distress Inks: Peacock Feathers & Mustard Seed
Fabri-Tac or other strong glue
Baby Wipes
Craft Mat
Latex Gloves (if you don't want inky fingers!!)

Taking the copic marker holder, decide which areas you want to cover with each colour. If you are doing more than one holder this would be a good time to sort them all so that you don't have to keep cleaning up when you switch colours - it's a bit messy! lol. 

Start by taking your chosen coloured ink and squirt it onto your craft mat. Pick up some of the ink onto a 'wad' of baby wipes and circle on the mat to distribute the ink on the wipes. Repeat this as often as needed. Once you have applied the ink to all of the pieces, leave them aside for a few minutes to dry off. 

Remember, when using baby wipes, please ensure they are not too wet. The marker holders are quite strong and durable but they are still a paper product and too much moisture will compromise the material. 


To make it easier to assemble the holder you can just follow along with the YouTube video at the bottom of the Copic Marker Holder product page 

Once you have it assembled it's time to add the embellishment pieces. These, I left in their bare state. Again, placement of the pieces is shown in the YouTube video. 


The holders can be placed upright or turned onto their sides and stacked, which is what I have done. I also assembled the Distress Marker Holder and it fit perfectly into the unfilled spaces of my copic holder. 


Thanks for dropping by! 
Sandie
xXx