Showing posts with label Maria Irene. Show all posts

Monday, June 4, 2018

Inspiration Monday - Thinking of you / Sympathy

Hello Everyone and Happy Monday!
Irene here with you today sharing the amazing projects that Team Monday has created as inspiration for you all!
Today our theme is
Thinking of you / Sympathy

Here are the Wonderful DT creations!!!

Card by :- STEPHANIE
*See Stephanie's blog for more Details

Products 
Stamps: 
Things are Looking Up
Wood Rings
Hello Tag
Postage Stamps 
Nested Frames Large 

Copic used:
Black (W9-7-5-3-1)
White (E43-42-41-40)
Beak (E33-31)

Card By :- ELIZABETH
*See Stephanie's blog for more Details

Products 

Card by : IRENE
*See Stephanie's blog for more Details


Products 
Woodland Critters (Sentiment)

Card by :- HENRYKA
*See Stephanie's blog for more Details


Products 
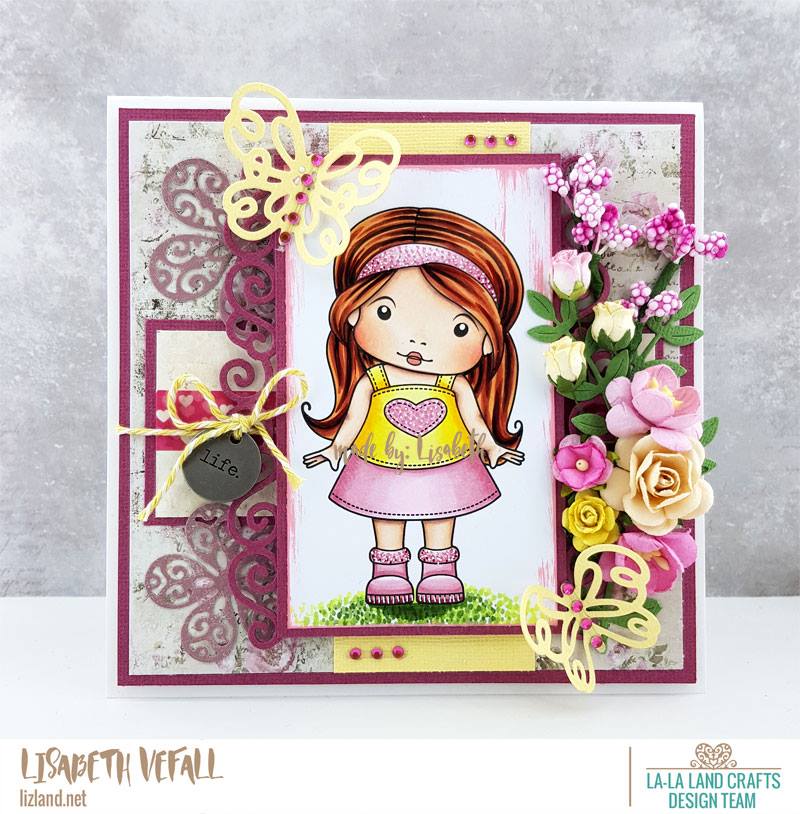
skin: E0000, E000, E00, E04, E11, R00, R20, R21
hair: E13, E15, E18
outfit: C0, C1, C3, C5, B21, B23, B24, B26

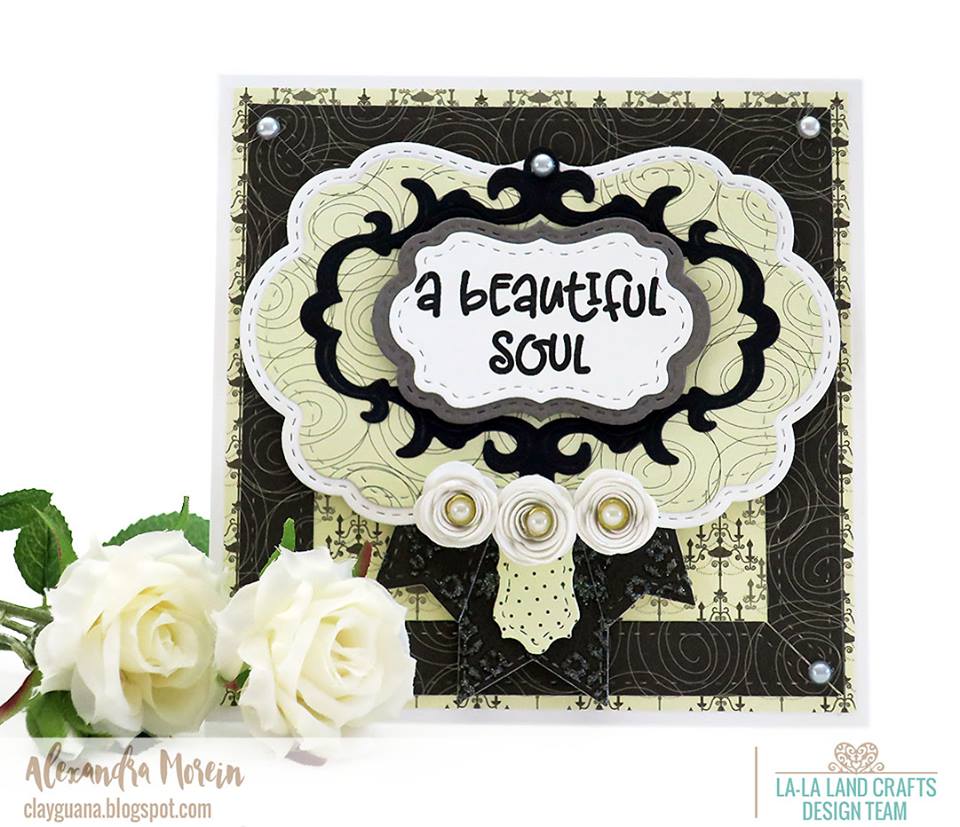
Card by :- ALEXANDRA
*See Stephanie's blog for more Details
Products 
Card by :- JENNIFER
See Jennifer's blog for more details

Products 


Hope you all have a great Crafting Week 
Irene

Click on the buttons below to find us on these social media sites:

Thursday, May 3, 2018

Tutorial Thursday - Easy Envelope Mini-Album

Good morning everyone!!!!
Today is TUTORIAL THURSDAY and I have a easy and fast mini album to show you.

Step-by-step:

You going to need 3 DL envelopes with 11x22cm. You must to close the envelope using double sided glue and cut one millimeter on both ends. I fixed the middle of my envelopes to 21 cm in length.


Then in the center of each I marked 10 centimeters on the right side and 10 centimeters on the left side. I was exactly one centimeter in the middle of the envelope


These will be my page pocket. I will create an opening at the end of each pocket using the STITCHED NESTED CIRCLES DIE.

Now I'll move on to the assembly of my mini album cover. For this I will need two card boards with 12x12cm and for the spine 3x12cm.

I will use a white card stock as the base to cover my cardboard with the measurement of 31x15cm. I align my 3 plates to allow 2 mm of spacing between the first plate and the spine to make it easier to handle.
We go to the decoration choosing a decorative paper and a palette of colors that match our previously painted image.


For the back cover we will use a rectangle with 26.3x11.70cm.
I glued our envelopes folded in half by 1 cm separation and attach to the spine of our album.
 We will now decorate our pockets using the same initial mechanism to create the small circular ledge.


For the Photo-Mats I cut 6 squares with 10x10cm as well as 12 squares with 9,60x9,60cm for the decoration of the same ones.


I put on the cover and back a tape so that in the end I can make a nice bow and keep my mini album closed. For the spine I created two small holes using eyelets to permanently attach my envelopes to the spine.


Now to finish we move on to the most fun part of the project: THE DECORATION!!!!!!!
And now the final project!!!!


My List Supplies:

Distress Markers
Skin: Tattered Rose, Vintage Photo, Walnut Stain, Tea Dye
Cloths: Scattered Straw, Faded Jeans, Tumbled Glass
Beret: Vintage Photo, Walnut Stain, Scattered Straw 
Shoes: Vintage Photo, Walnut Stain, Scattered Straw 
Hair: Vintage Photo, Walnut Stain
Outline: Weathered Wood, Tumbled Glass
Grass: Peeled Paint, Forest Moss, Twisted Citron


I hope you Enjoyed and Make sure to post in the La-La Land Crafts Facebook Fan Group if you create one!
I send wishes for love, joy, and crafty inspiration!!!!
Hugs
Irene Mendes


Monday, March 26, 2018

Inspiration Monday - Flowers

Hello crafters!
Happy Monday everyone!
Who among you loves flowers? It seems like a silly question, because we all love flowers and that's why it's the theme of the week ...
🎕 F L O W E R S 🎕
Please have a look what our ladies prepared for you:

Card by LISABETH:
Please see Lisabeth's blog for more details

PRODUCTS DETAILS:

COLOURING DETAILS:
Copic markers
Hair- E08, E18, E19, E49, E97, 
Skin - E000, E00, E02, E04, E13, R20, R22
Outfit - R59, R81, R83, R85, Y11, Y13, Y17 + white gel pen
Grass - G99, YG01, YG13, YG63, YG67

Card by STEPHANIE:
Please see Stephanie's blog for more details


PRODUCTS DETAILS:

COLOURING DETAILS:
Copic used:
Skin - E04, 13, 11, 21, 00, 000, R20
Hair - E44-47-49
Clothing and accessories - C3-5-7-9, V01-04-05-06-09, YG23-25, W3-5-7-9

Card by HENRYKA:
Please see Henryka's blog for more details

PRODUCTS DETAILS:

COLOURING DETAILS:
Copic Markers:
Skin: E0000, E000, E00, E04, E11, R00, R20, R21
Hair: E13, E15, E18, YR12
Outfit: B91, B93, B95, B97, B99, W0, W1, W3, W5

Project by MARTHA:
Please see Martha's blog for more details

PRODUCTS DETAILS:

Pointy Flowers Die
Two Leaves Die


COLOURING DETAILS:

Hair: E49,E47,E44,E43,E41
Skin: E13,E21,E00,E000,R20
Purple: BV08,V17,V15,V12
Grey: W7,W5,W3,W1

Card by JENNIFER:
Please see Jennifer's blog for more details

PRODUCTS DETAILS:

COLOURING DETAILS:
Copics:
Face - E0000, E000, E00, E01, E11, R20
Hair - E50, E51, E53, E55
Dress - BG0000,BG01, BG02, BG05, BG10
Gloves and Shoes - C05, C06, C09

Card by ALEXANDRA:
Please see Alexandra's blog for more details
PRODUCTS DETAILS:

COLOURING DETAILS:
Copics:
Skin: E04, E11, E00, E000
Hair: E18, E15, E13
Outfit: C4, C3, C2, C0
RV99, RV95, RV93, RV91
Rose: YG97, YG95, YG91
RV99, RV95, RV93, RV91

Card by IRENE:
Please see Irene's blog for more details


PRODUCTS DETAILS:

COLOURING DETAILS:
Prismacolor Pencils
Skin:939-914-927-935-945-948-922
Hair: 935-948-1084

Dress:903-1024-1086-935

****************

Thank you for joining us!
Have a wonderful day!
Irene and Team Monday.

Click on the buttons below to find us on these social media sites:
    

Monday, February 26, 2018

Inspiration Monday "Spring"

Hi it's Irene here with this weeks theme "Spring"!!!!!
Take a look at the AMAZING projects team Monday have created.


Project by MARTHA
See Martha's blog for more details.


PRODUCTS USED

Flapper Molli Rubber Stamp
Shabby Flourishes
Pierced Scalloped Circles
Double Stitched Circles
Rolled Rose Medium and Small

COLOURING DETAILS

Copic Markers
Hair: E29,E27,E25,E23,E21
Skin: E13,E11,E00,E000,R20
Coral: R29,R24,REE,R20
Green: YG67,YG63,YG61


Project by JENNIFER
See Jennifer's blog for more details.
PRODUCTS USED


Copics

Face - E0000, E000, E00, E01, E11, R20

Hair - E08, E09, E33, E31
Flower, Pants - YR15, YR16, YR68
Shirt, Shoes - BG10, GB11, BG13, BG45


Project by  ALEXANDRA
See Alexandra's blog for more details.
PRODUCTS USED


Thinking of You Marci
Nested Frames Large
Nested Frames Small
Cherry Blossom Fan
Palm Leaves
Notched Flowers

Copics:
Skin: E04, E11, E00, E000
Hair: E29, E08, E13
Outfit: RV99, RV95, RV93, RV91
Y28, T15, T11

Project by IRENE
See Irene's blog for more details.

PRODUCTS USED
Cutie Pie Baby Marci Rubber Stamp
Stitched Pennants Die
Stitched Tags Die
Postage Stamps Die
Stitched Sun and Clouds


PRISMACOLOR PENCILS:

Skin: 948-945-939-927-140-938 ** 930-926-927
Dress: 1063-1060-1058-935-930-912
Pants: 1027-1024-1086
Hair: 938-1063-1060 ** 1027-1024-1086
Sky: 1027-1024-1086
Grass: 912-926

Project by SABRINA
See Sabrina's blog for more details.

TOMBOW DUAL BRUSH
HAIR: 020, 977, 969
SKIN: 850, 912
OUTFIT: 451, 526, 192, 312, N65, N55, N15

I send wishes for love, joy, and crafty inspiration!!!!
Hugs
Irene Mendes

Click on the buttons below to find us on these social media sites: