Showing posts with label DT Barbara. Show all posts

Thursday, May 10, 2018

Tutorial Thursday - Colouring with Distress


Hello Everyone!
Today I try to show you my colouring with Distress inks.
I decided to colour Marci with Tulips.
I take few pics to show you step by step how I colour most of my La La La Crafts images.


I always start with skin. I used vintage photo and tattered rose... mixed together.
Then I colour hair... first I used antique linen..
and when the colour is dry I shade them using walnut stan.

Then I colour my tulips... using fired brick and tattered rose...
Next step... colouring a dress. 


 I used a mix of milled lavender and worn lipstic.


I start hit hat... first with my pink and then with hickory smoke...


I used the same colour - hicckory smoke - for first step of shadding a dress and tulips..
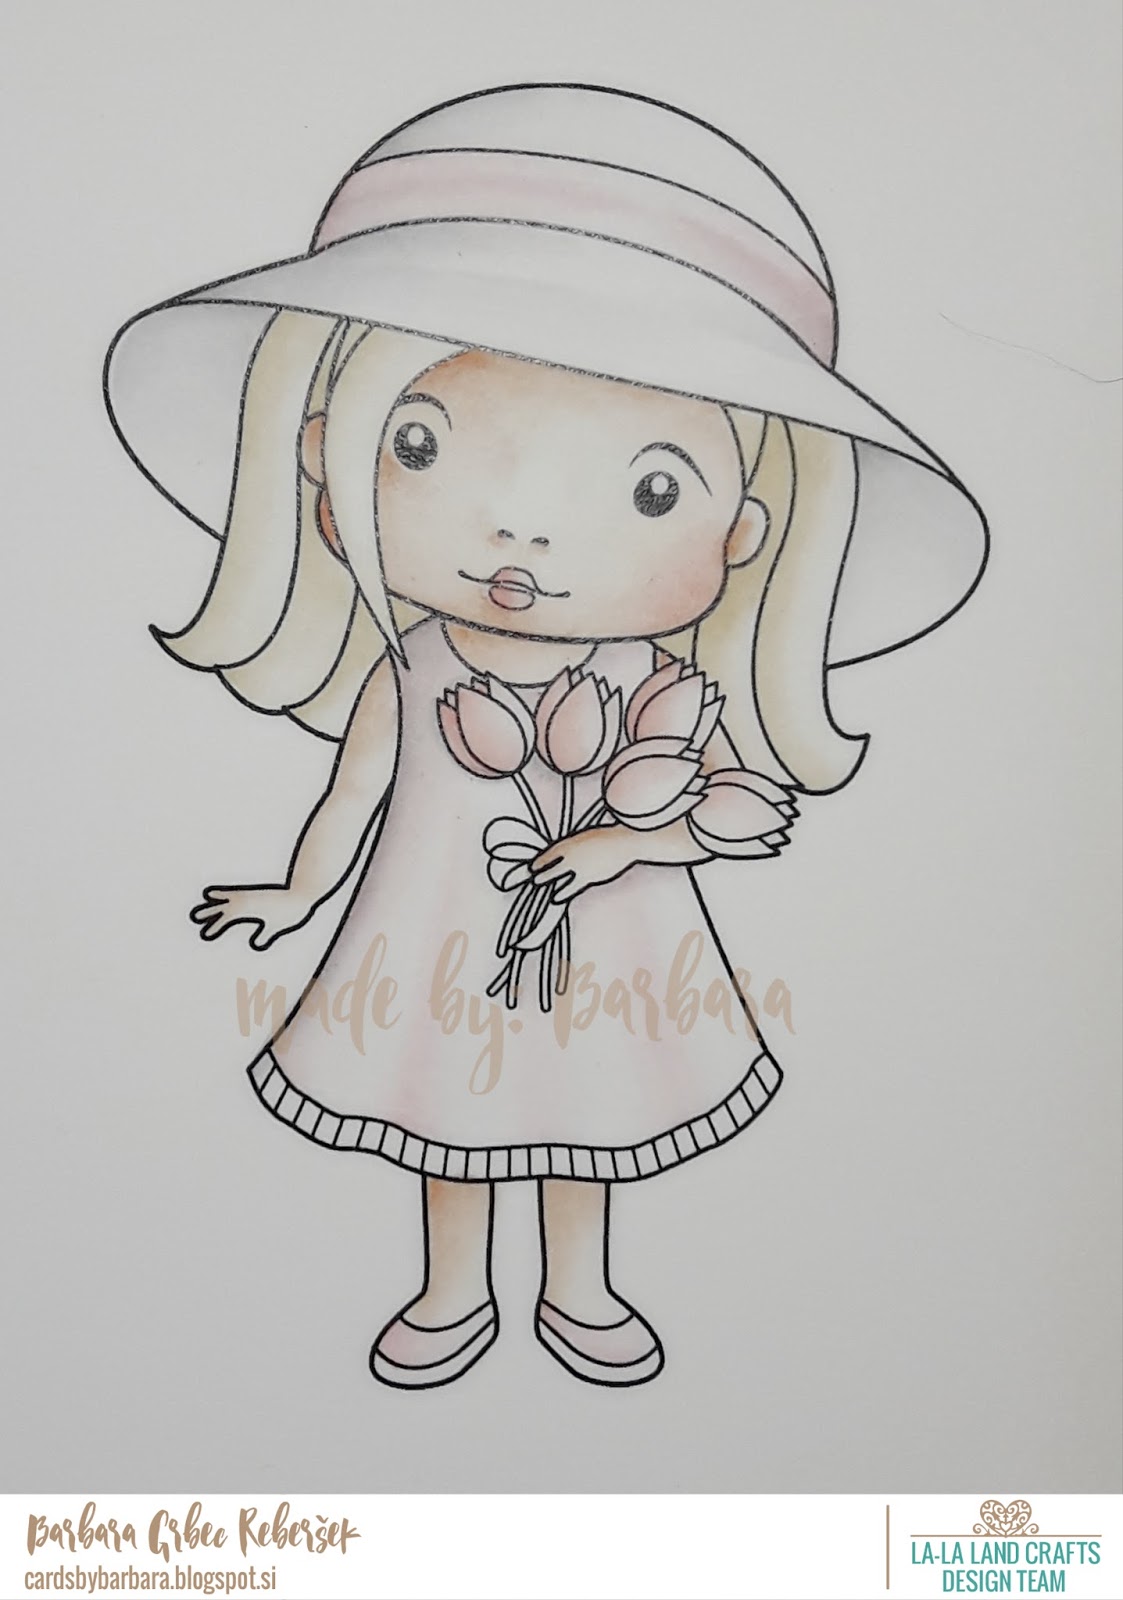


Done... All shadded with hickory smoke...


Now I change my brush for shadding with black soot...


When I finish I change again a brush... I use a thin brush for borders...


I use Gelly white pen for highlight eyes..


... and some glitter Sakura pen for tulips and shoes...


Hope you can see the shine ...


At the end I select one of my dies  - Nested Frames Large Die -
and cut it out.


You can see my card in tomorrow's post...
Thank you for stopping by!!
ugs, Barbara GR

Friday, March 23, 2018

Inspiration Friday - Birthday


Hello!

It's Friday and we continue with this weekend theme... 
"Birthday".
 Let's see what ladies from Team Friday made to inspire you.


Tag BY Celine
See Celine's blog for more details
Fotografija osebe Cline Passio.

PRODUCTS:

COLOURING DETAILS:
Copic Markers
Skin : E13, 11, 21, 00, 000, R21, 20
Hair : E35, 31, YR1, E51
Clothes : E74, 71, 70, RV99, 95, 93, 91


Card by Mindy
See Mindy's blog for more details
Fotografija osebe Mindy Beverly.

PRODUCTS:
COLOURING DETAILS:
Copic Markers:
Skin: E04, E21, E11, E00, E000, E0000, RV21, RV10 
Hair: E35, E31, E49, E18, Y00
Tail and Headband: BV08, V17, V04, V12, BV000, Y00, YR04, RV000, BG09, BG13, BG15, BG10
Shell: G17, YG06, YG11, Y00, C5, C3, C1, 0, BG09, BG13, BG15, BG10, RV29, RV10, RV000, YR20, E50
Fish: YG06, YG11, Y00, BG09, BG15, BG10


Card by Tamara
See Tamara's blog for more details

Fotografija osebe Tamara Potočnik.


PRODUCTS:
Marci with Tulips
Bunny Hugs
Stitched Nested Circles
Stitched Ribbon
Stitched Nested Hearts
Cherry Blossom Fan
Mini Butterflies
Pierced Scalloped Circles

COLOURING DETAILS:
Distress inks
skin: vintage photo
hair: antique linen, walnut stain
hat, dress, shoes: stormy sky, black soot
tulips: fossilized amber, worn lipstick
bunnies: black soot


CARD BY: Barbara
See Barbara's blog for more details


COLOURING DETAILS:
Distress Inks
skin - tattered rose, vintage photo
hair - antique linen, walut stain
clothes - fired brick, ntique linen, pumice stone, black soot


CARD BY: Tina
See Tina's blog for more details

Fotografija osebe Tina Day Goodwin.

PRODUCTS:
COLOURING DETAILS:
Copic Markers
Frenchie: W10, W8, W5, W3, C3, C3
Sky: B000, B0000
Grass: Y03, Y23, Y25, BG93, YG67


Balloon: B26, B24, B21


Card by: MEG
* See Meg's blog for more information.


Fotografija osebe Margaret Russell.


PRODUCTS:
COLOURING DETAILS:
Copic Markers
skin - E04, 11, 21, 02, 01, 000, 93
hair - E18, 09, YR27, Y26
green - BG00, 03, 000
pink - RV09, 13
shoes - RV09, 13, R39


Click on the buttons below to find us on these social media sites:
    
Hugs, Barbara and Team Friday

Thursday, January 4, 2018

Tutorial Thursday - Dimensional Molli


Hello everyone!

Barbara here with you today with a very special tutorial.
For my creation I need Winter Molli  from Winter 2017collection stamp.


I stamped the image on my paper pads. I used pink and gree for dress and light brown for hair and boots.
I stamped the image once time on watercolour paper too... this one I used for clouring face.
Distress inks used:
tattered rose and vintage photo.

Then I cut out all my pieces... distressed all borders
and start gluing them....


At the end I shaded my Molli and covered all my green pieces with glitter.


Hope you see can all the dimension...

You can see my card with this beauty tomorrow.
Hugs, Barbara GR


Thursday, October 26, 2017

Tutorial Thursday - Magic slider card


Hello everyone!!
Barbara here with you today to share how you can create a Birthday magic slider card. 
I used Birthday Gift Molli.


there is a list of all you need:


and...

white cardstock 
design paper pad
acetate
dubble sided tape
score board
pencil
cutter
ruller
Distress inks: tattered rose, valnut stain
Zig Clean Color Real Brushes: 


Step 1: Use your white cardstock to cut out the card base ... the dimension is 10 x 28 cm.
Fold it  and create a card.


Step 2: Use your die ... drow the outline edge of the postage die  in the center


and cut it out...


Step 3: Stamp the image on the acetate and on the watercolour paper.
I use StazOn black ink pad.


 Now you have a card base, stamped images and the white  "insert paper" which you use to slide... 


 Step 4: Cut out your design paper pad. The dimension is 10,7 x 13,7 cm.
Glue all the pieces.


Step 5: Colour your image stamped on watercolour paper then


 glue it inside the card


Step 6: Glue the acetate... 


 Step 7: Cut the card on the top to open it in this way you have a posket to slides...


Cut out 3 stripes and glue them around the coloured image.


 Now glue the front page...


... and here is the magic...


Thank you for visiting!
Hugs, Barbara GR