Showing posts with label Christmas 2020. Show all posts

Thursday, December 17, 2020

La-La Land Crafts 14 Days of Christmas - Day 14


Hello everyone! Welcome to Day 14 of the annual La-La Land Crafts 14 Days of Christmas!

Jennifer here with you today to share a tutorial with you!

Today's tutorial is:  A Double Easel Card

This is a Great Extra special Card for Christmas or if you have completed all your
cards you could turn it into a Great Winter or Birthday Card.


PRODUCTS USED
Skin: E000, E00, E04, E11, E21
Hair: E51, E53, E55, E57
Dress, Hat Trims: BG11, BG45, BG57, BG72
Hat, Boots, Candy Cane:  R32, R35, R37, R39, 89
Trims: W00, W0, W01, W03
Holly Leaves: G21, YG63, YG67

PAPER CUTS & SCORING
White cardstock:
Card Base 11 x 4 1/2 Score @ 5 1/2, 8 1/4
Card Easel 5 1/2 x 4 1/2
Small Card Base 5 x 2 Score @ 2 1/2, 3 5/8
Small Easel 2 1/2 x 2
Large Clock Die
One of the Suitcase Side Layer Die

Brown cardstock:
Scalloped Elongated Rectangles x 2  19 scallops x 15 scallops
 2 x 2 5/16 x 1 13/16
Largest Pierced Scalloped Circles Die
2 x Pinecone Bough* Die
Hands of the Large Clock Die

Aqua Cardstock:
2 x Double Stitched Rectangles diecut  Elongated to fit in the Brown 
Scalloped Enlongated die cuts
Largest Double Stitched Circles Die
3 x Pinecone Bough*Die

Red cardstock:
4 x Pinecone Bough*Die
Large Clock Die

Home For Christmas Paper Pack:
Red snowflake 4 15/16 x 3 13/16
Light woodgrain 4 15/16 x 3 13/16
Light woodgrain 2 x 1 1/2
Dark woodgrain Pinecone Bough*Die 4 pinecones
Poinsettia aqua Stitched Nested Circles Die second Largest 
Poinsettia aqua Poinsettia Die 

Clear Acetate:
Stitched Nested Circles Die second Largest 


~ now for the tutorial you have been waiting for ~ 
my 3D Double Easel Card with a shaker clock.


Side look.


A the yummy products used.


First of all I Cut and Scored the card base.


I then cut the layers for the card base and easel.


I then layered them up using 3D tape on the brown and aqua layers.  I then just taped the rest.


I then cut and scored the small easel card base and easel.


Next I cut all the small layering pieces.


I then layered and taped them together.


I then taped the easels to there bases as in the picture.  Next I 3D taped the small easel card on to the big card about 1 inch in.


Time to create the shaker clock so I cut out these pieces from the list above.


I also cut a red clock out as well and used just the numbers.


I used the white clock and  I popped out the numbers and the holes all the way around. I then glued acetate to the back I glued the red numbers in the holes and used the brown hands.
I added a copic coloured pearl to the centre to match Marci's dress. Next I used 3D tape around the back of the clock and popped little crystals in it and the poinsettia aqua circle  on the back to create the shaker. I then layered it on the aqua stitched circle and brown scalloped circle.


I then created a poinsettia using the 2 diecuts. I inked around them in aqua ink and curled the petals using my bone folder. In the center I popped 6 white pearls and 1 red one that fitted on the die cut perfectly. 
I 3D taped then together in the center.


I then diecut the pinecones and used brown ink around them. I also diecut the pine needles
to embellish the card. I coloured Marci up and she looked Gorgeous in the vintage look colours.


I attached Marci to the small easel card and then embellished the card with all the pieces we diecut.
I finished it off by stamping a Happy Christmas sentiment on the Suitcase Side Layer Die and 3D' it so the small easel could rest against it.


We hope that you are inspired to try out your own creation with the amazing stamps and dies from La-La Land Crafts! 

Make sure to join our LLLC FAN GROUP on Facebook for more ideas, 
inspiration and a general chit chat about our products!

Hoping you all have a great week of Creating

Jennifer 

Click on the buttons below to find us on these social media sites:


Wednesday, December 16, 2020

La-La Land Crafts 14 Days of Christmas - Day 13


Hello everyone! Welcome to DAY 13 of the annual La - La Land Crafts 14 Days of Christmas! 


Sandra here with you today to share a tutorial with you!

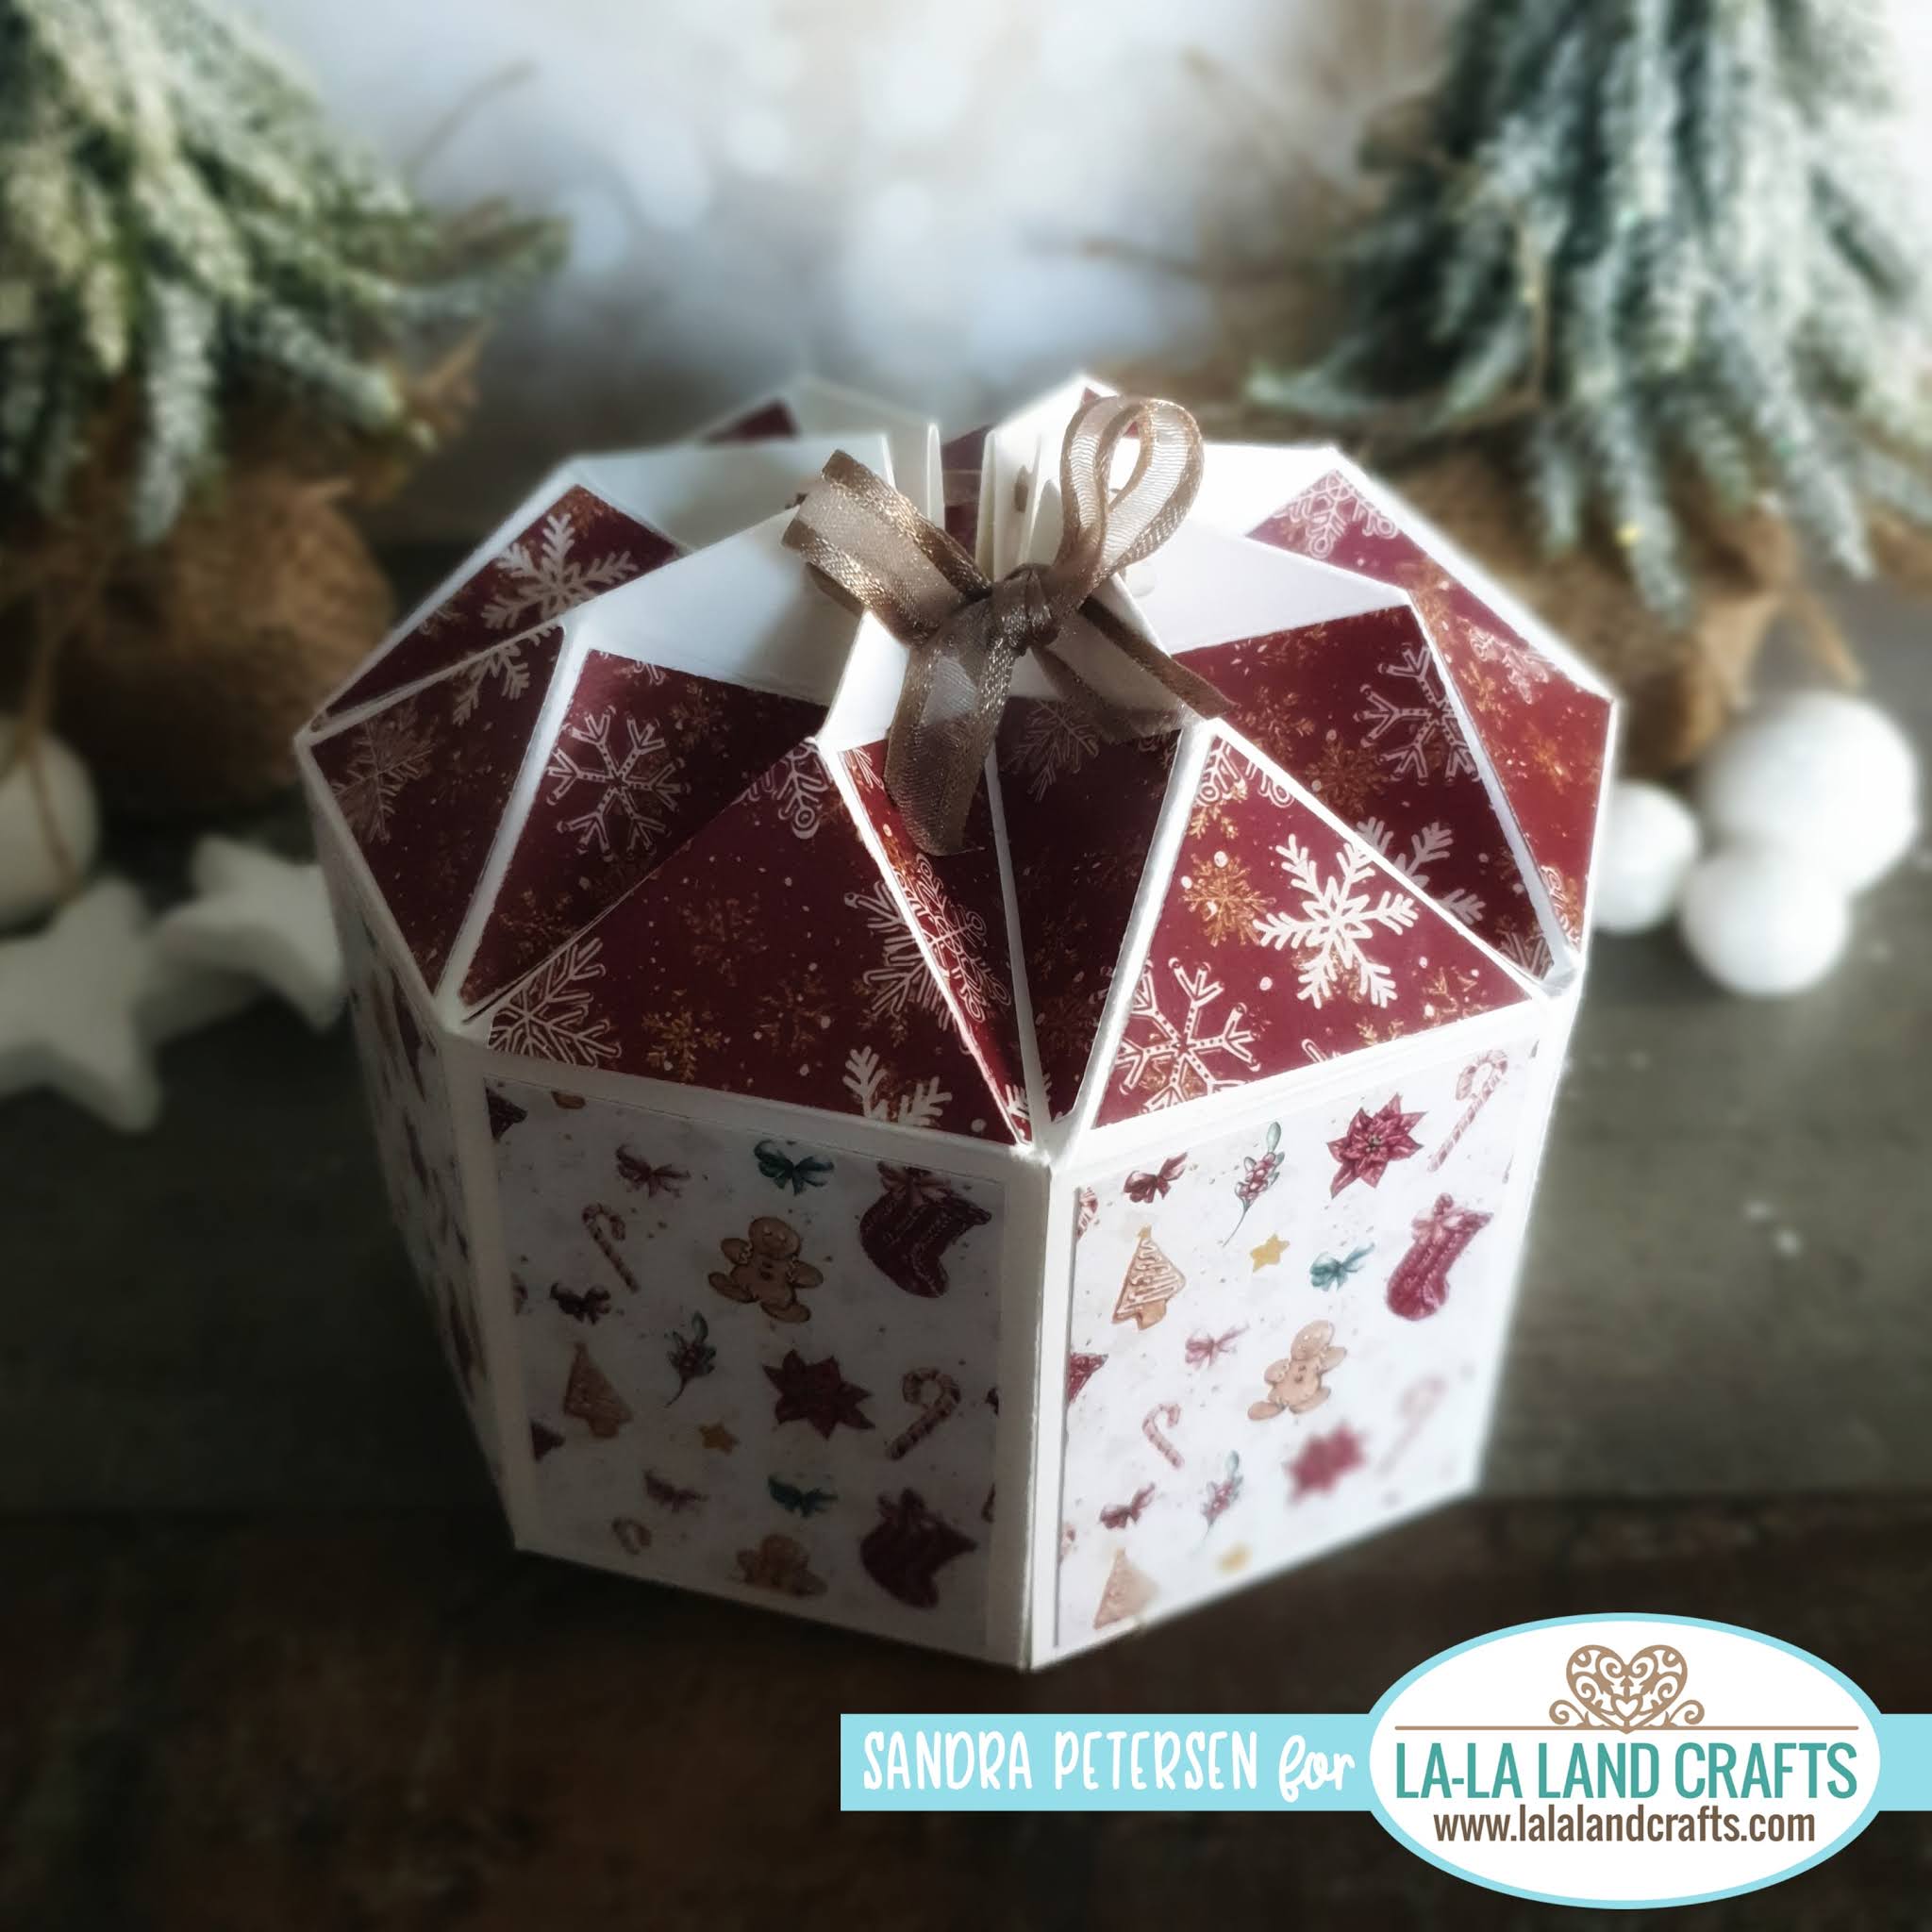
Today's tutorial is:  STAR FOLDED GIFT BOX
 
I want to show you a gorgeous star folded gift box you can perfectly use for wrapping up some of your Christmas gifts


COPIC COLORS:
Snowman - BG0000, 10, 70

MATERIALS NEEDED:
White cardstock:
(2) 8 1/4" x 5 3/4"
Score on 5 3/4 side at 2 1/2 and 5
Score on 8 1/4 side at 2, 4, 6, and 8 
see direction below for other scoring 
(2) 2 1/4 circles
scraps for dies

Home For Christmas Paper Pack:
(8) 2 1/4 " x 1 3/4"  - Red ginger bread pattern
(8) 2 1/4 " x 1 3/4" Red snowflake patter
~ now for the tutorial you have been waiting for ~ 

This is a sketch you can use as an overview

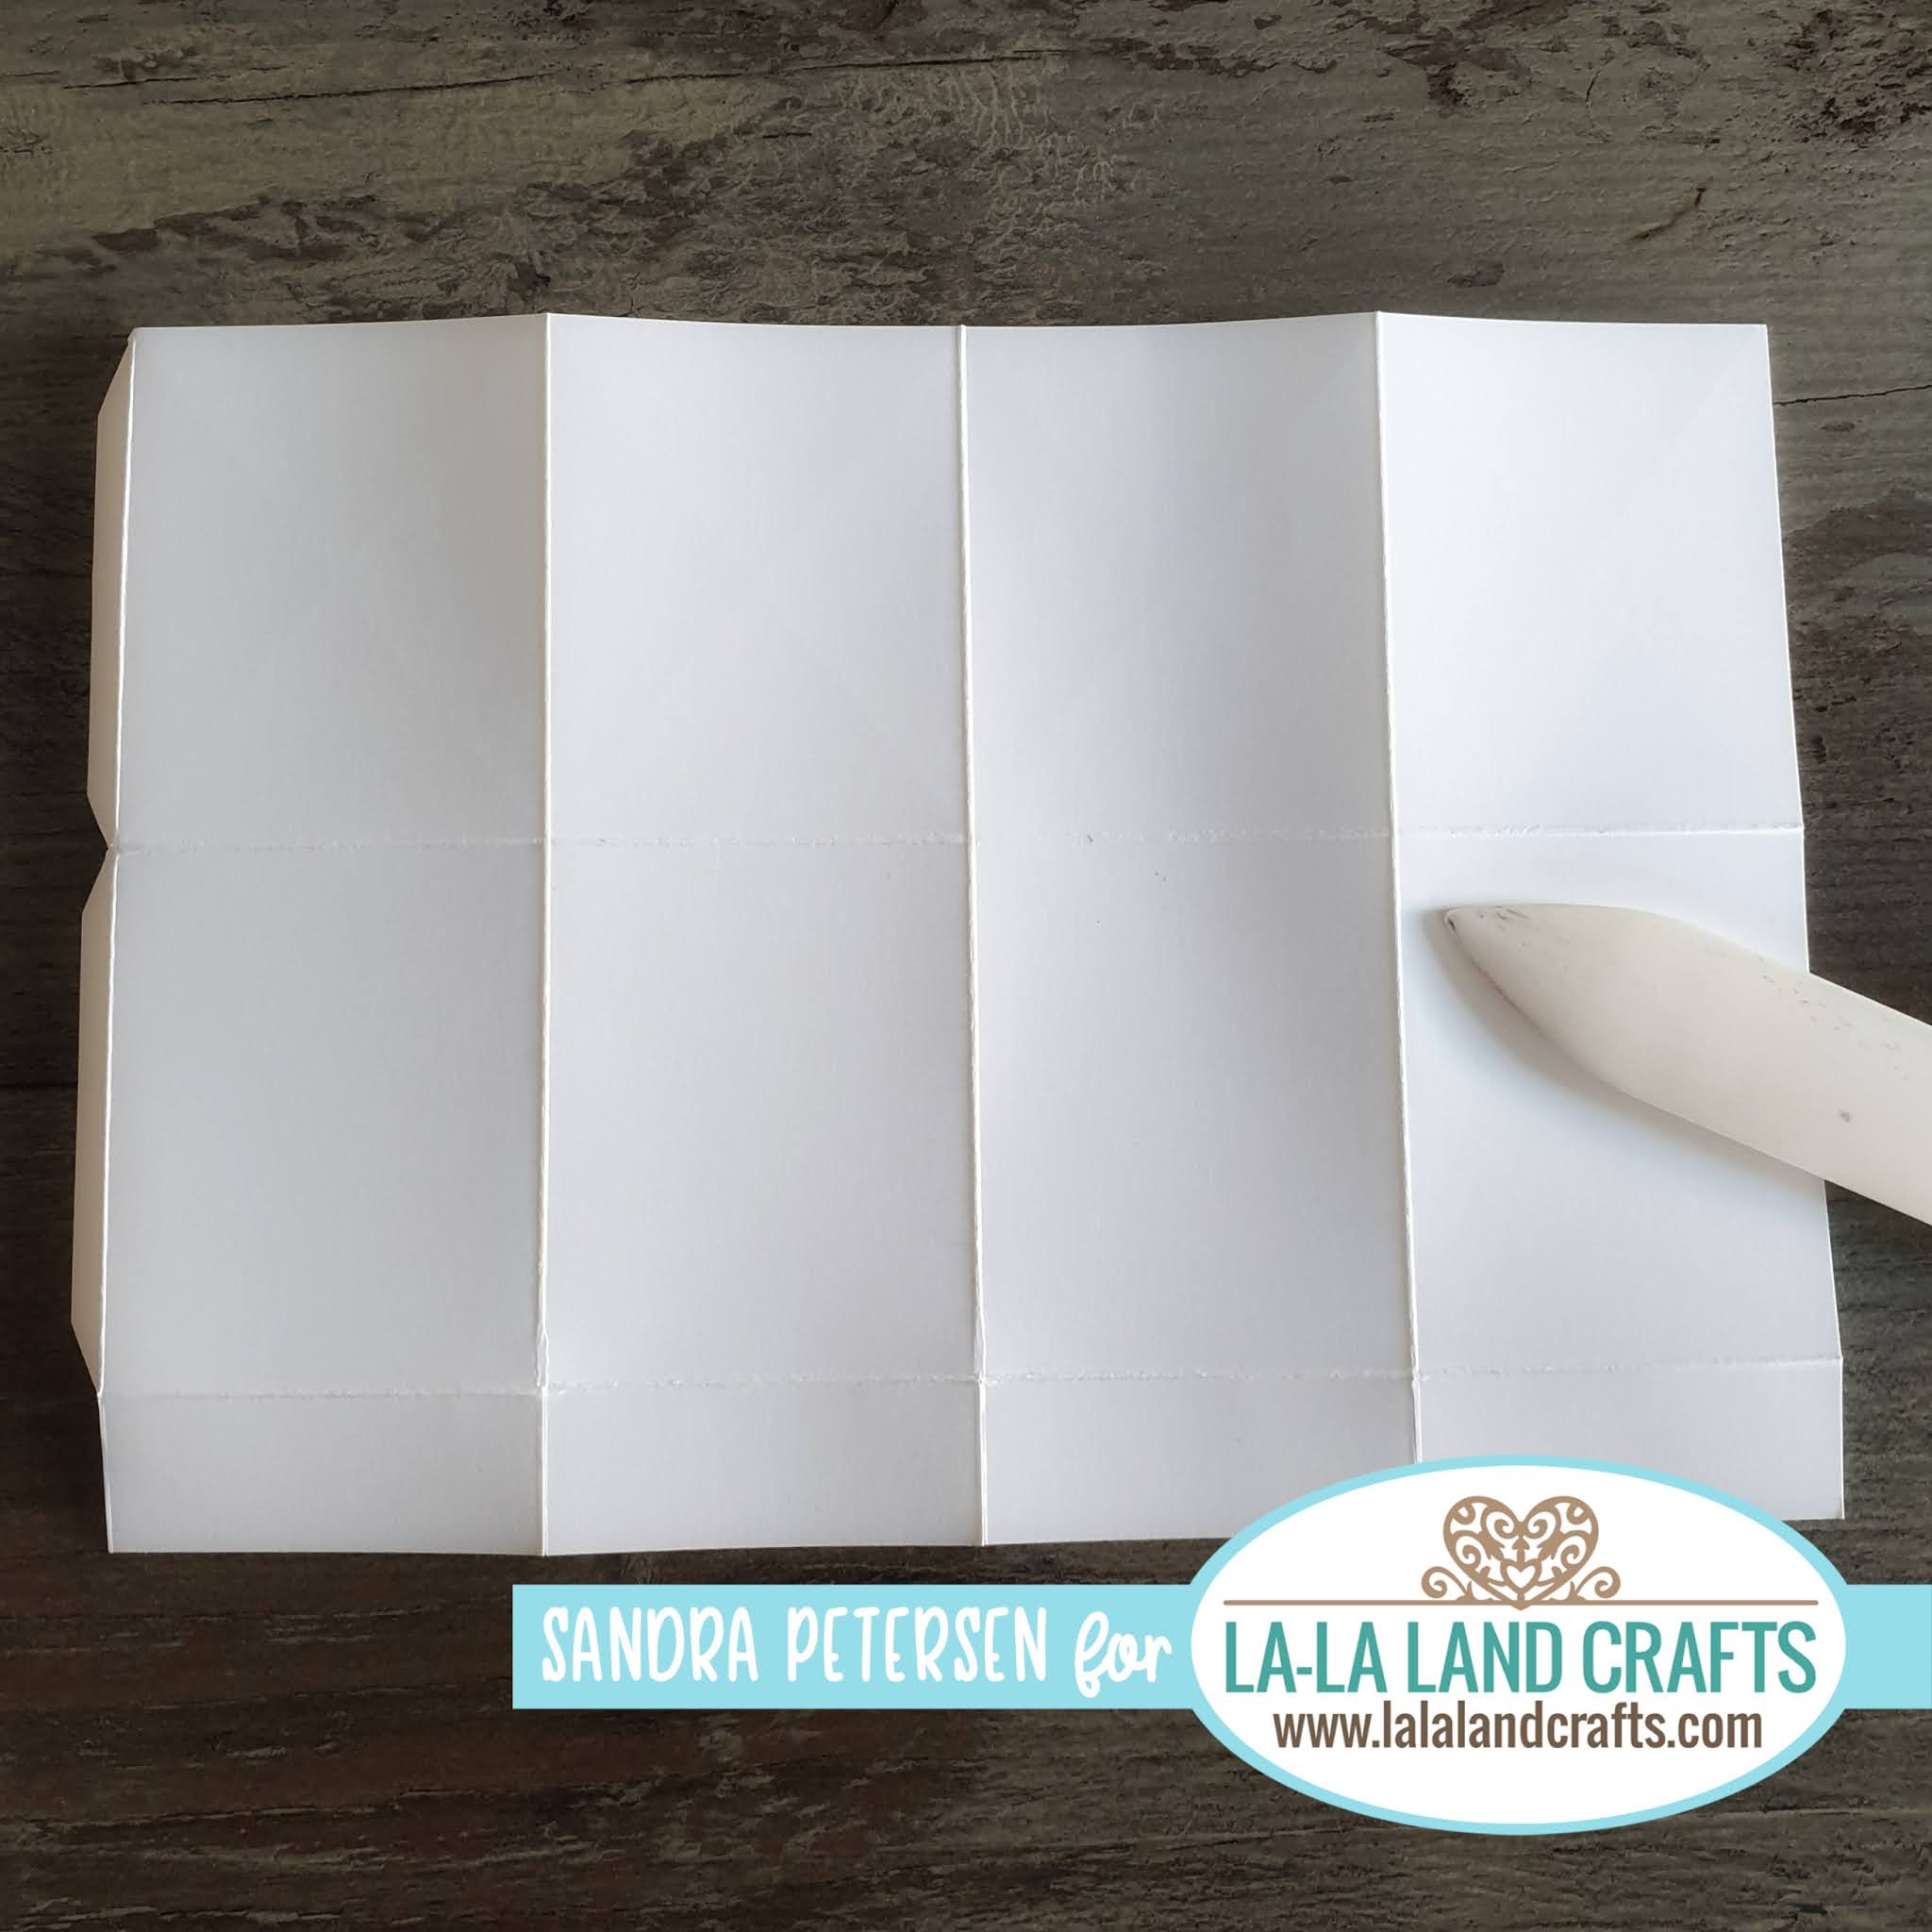
Score on the long side at 2" / 4" / 6" / 8"

Turn paper and score on the short side at 2 1/2" and 5"

Score a diagonal line as shown above

Score another diagonal line as shown

Score a straight line from the top of your cardstock to the point where the other 2 scored lines you did before cross

Cut the cardstock at the bottom and cut off the marked paper as shown in the pic

It should look like this

Fold all straight scored lines

Fold all diagonal scored lines


Fold the straight line above the 2 diagonal folds, it should look like a roof with an antenna


Do all the steps for the remaining 8 1/4" x 5 3/4" piece of cardstock again 
You´ll have 2 identical pieces of folded cardstock now
 
 
Glue the flaps of one piece of cardstock and stick it to the second piece of cardstock

After that it looks like this

Now it is time to add the design paper

Cut 8 pieces in 2 1/4 " x 1 3/4" and glue them to your box


Cut again 8 pieces in 2 1/4" x 1 3/4" from your Design Paper


Draw diagonal lines on the back of the paper pieces as shown in the pic 
 

Cut the paper
You'll get 4 pieces out of 1 
 
 
 You need 8 small triangles and 16 larger triangles 


Glue them to the box

Put glue to the remaining flap of your box and close it by putting one side above the other side


Your box will look like that


Top of the box


Bottom of your box

You need to punch holes in the top flaps of your box so you can pull some ribbon to close it through

Punch a hole in the middle of your flap as shown in the pic

I use my Crop - a - dile to punch all holes 


Now it is time to add a bottom (inside/outside) to your box.
Diecut 2 circles. 

Glue one to the bottom (outside) of your box

And the second to the bottom of the inside of your box


Pull ribbon of your choice through the punched holes, tighten the ribbon and close your box 


This is the tag I added to my box


 If you like add some embellishments or just a ribbon bow for decoration to your box and you`re done!


I hope you had a lot of fun crafting with my tutorial and I would love to see what you make! 

We hope that you are inspired to try out your own creation with the amazing stamps and dies from La-La Land Crafts! 

Make sure to join our LLLC FAN GROUP on Facebook for more ideas, 
inspiration and a general chit chat about our products!

Hoping you all have a great week of Creating

Sandra

Click on the buttons below to find us on these social media sites: