Hello everyone! Welcome to Tutorial Thursday!
Sandra here with you today to share a tutorial with you!
Today's tutorial is: Small Christmas Treat Box
Hello dear ones, today I would like to show you how to craft a little cute treatbox that fits perfectly for christmas!
PRODUCTS:
Supplies:
white cardstock
Scissors
Liquid Glue
Ruler
Corner Punch
Scoring Board
Folding Bone
Copic Marker used:
Poinsettia: R17, 24, 27, 46, 59, YR16, Y35
Branches: BG96, YG17, 25, 63, 67
Pine Needles: G24, 28, 29
Twig: BG96, YG25, 63, 67, YR16, Y04, 35, 38

~ now for the tutorial you have been waiting for ~
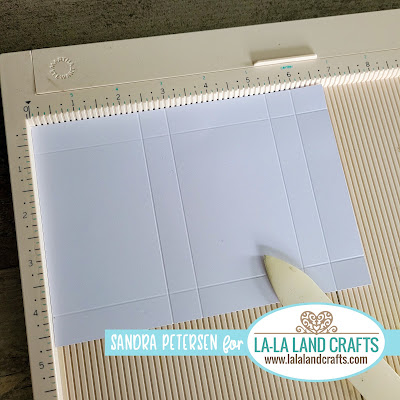
Score on the short side at 5/8" and 4 1/8"
Score on the long side at 2 3/8" and 5 3/8" and 6"
Score diagonal lines as shown in the pic
Cut off paper edges as shown
Cut the paper edges from the flap with your scissors or corner punch
Fold all scored lines and assemble the box as shown above
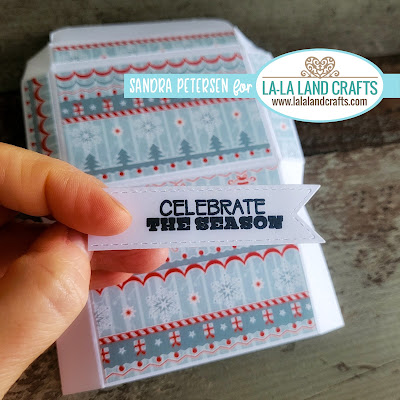
Cut the design paper to
2 pieces 3 3/8" x 2 1/4"
2 pieces 3 3/8" x 3/8"
2 pieces 2 1/4" x 3/8"
Glue the design paper to the box
Stamp the sentiment onto the long flag die cut and cut off a bit of the paper to fit the flag to the box
Color up the poinsettia, pine needles, branches and twig die cuts with Copic Markers and add everything to your box
We hope that you are inspired to try out your own creation with the amazing stamps and dies from La-La Land Crafts!
Make sure to join our LLLC FAN GROUP on Facebook for more ideas,
inspiration and a general chit chat about our products!
Hoping you all have a great week of Creating
Sandra
Click on the buttons below to find us on these social media sites:


I love this box. Beautifully done and no special tools required, just basic supplies. Well explained and photographed
ReplyDelete