


Hello everyone! Welcome to Tutorial Thursday!
YOUR NAME here with you today to share a tutorial with you!
Today's tutorial is: QUICK AND EASY GIFT CARD HOLDER
I DON'T KNOW ABOUT YOU, BUT EVERY CHRISTMAS I FIND MYSELF PRESSED FOR TIME AND NEED STUFF I CAN CREATE MANY OF IN A TIMELY MANNER. THE GIFT CARD ENVELOPE DIE MAKES THIS SO EASY.
PRODUCTS USED
Hippo: W1, W3, W5, W7
Hat and Scarf: R14, R35, R37, R59
Nails: RV21
Star: Y17, Y38
PAPER CUTS & SCORING
White Cardstock
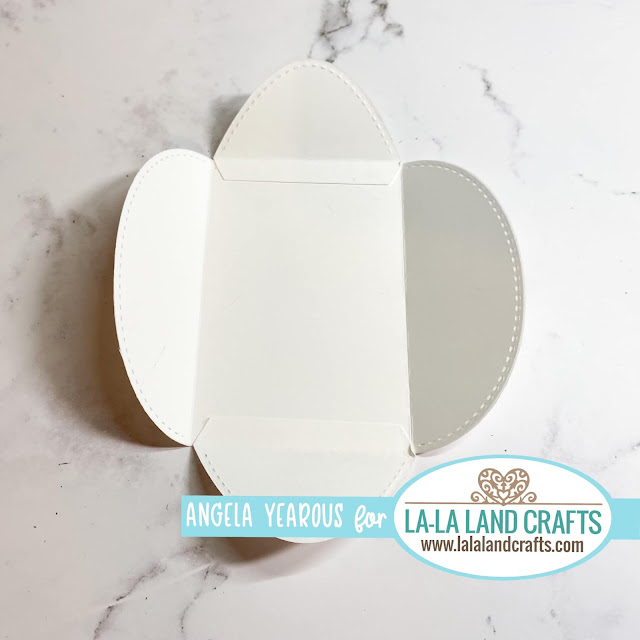
(1) Gift Card Envelope Die
(2) Gift Card Envelope Die- Tabs
Black Cardstock
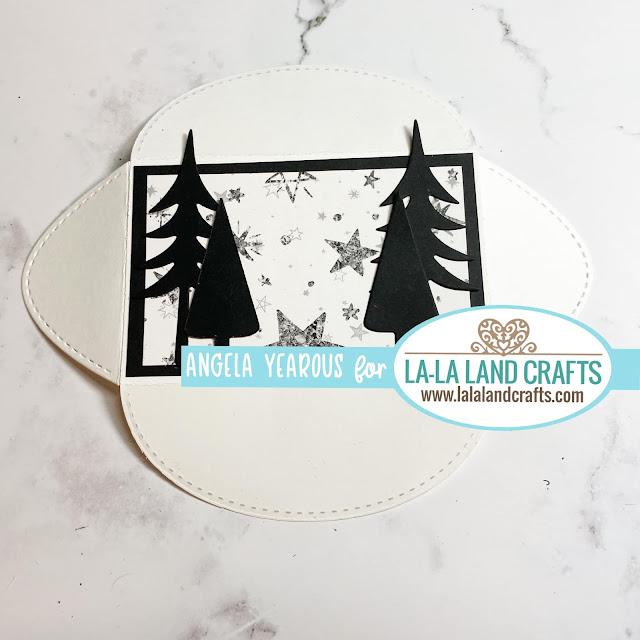
(1) 3 1/2" x 2 1/4"
(2) Each tree from the Snow Globe Die Set
(1) Wax seal and Tree circle from Gift Card Envelope Die
Starry Night Paper Pack
(1) 3 1/4" x 2"

~ now for the tutorial you have been waiting for ~

Next I used some double sided tape on the tabs.

Once I had the adhesive on the tabs I adhered to both ends of the inside of the envelope.

I adhered the layers together and adhered to the front of the envelope.

Next I cut 2 of each of the trees that are part of the Snow Globe Die Set and added to each end of the ennvelope.
Then it was time to add my Hippo just off to the left of the envelope.

Now to complete the back of the envelope. I added double sided tape as shown below.

In was then able to adhere the edges together. I cut one of the wax seals and the tree overlay, both with black cardstock. I adhered to the flap with a bit of wet glue.

Now for the back of the cardholder, I added a crystal to the top of the tree.

And for the finished product front - I added some crystals to the front as well as I felt it needed a bit of bling. I love how this turned out and as you can see many can be made fast and easy.

We hope that you are inspired to try out your own creation with the amazing stamps and dies from La-La Land Crafts!
Make sure to join our LLLC FAN GROUP on Facebook for more ideas,


inspiration and a general chit chat about our products!
Hoping you all have a great week of Creating
ANGELA
Click on the buttons below to find us on these social media sites:
No comments:
Post a Comment