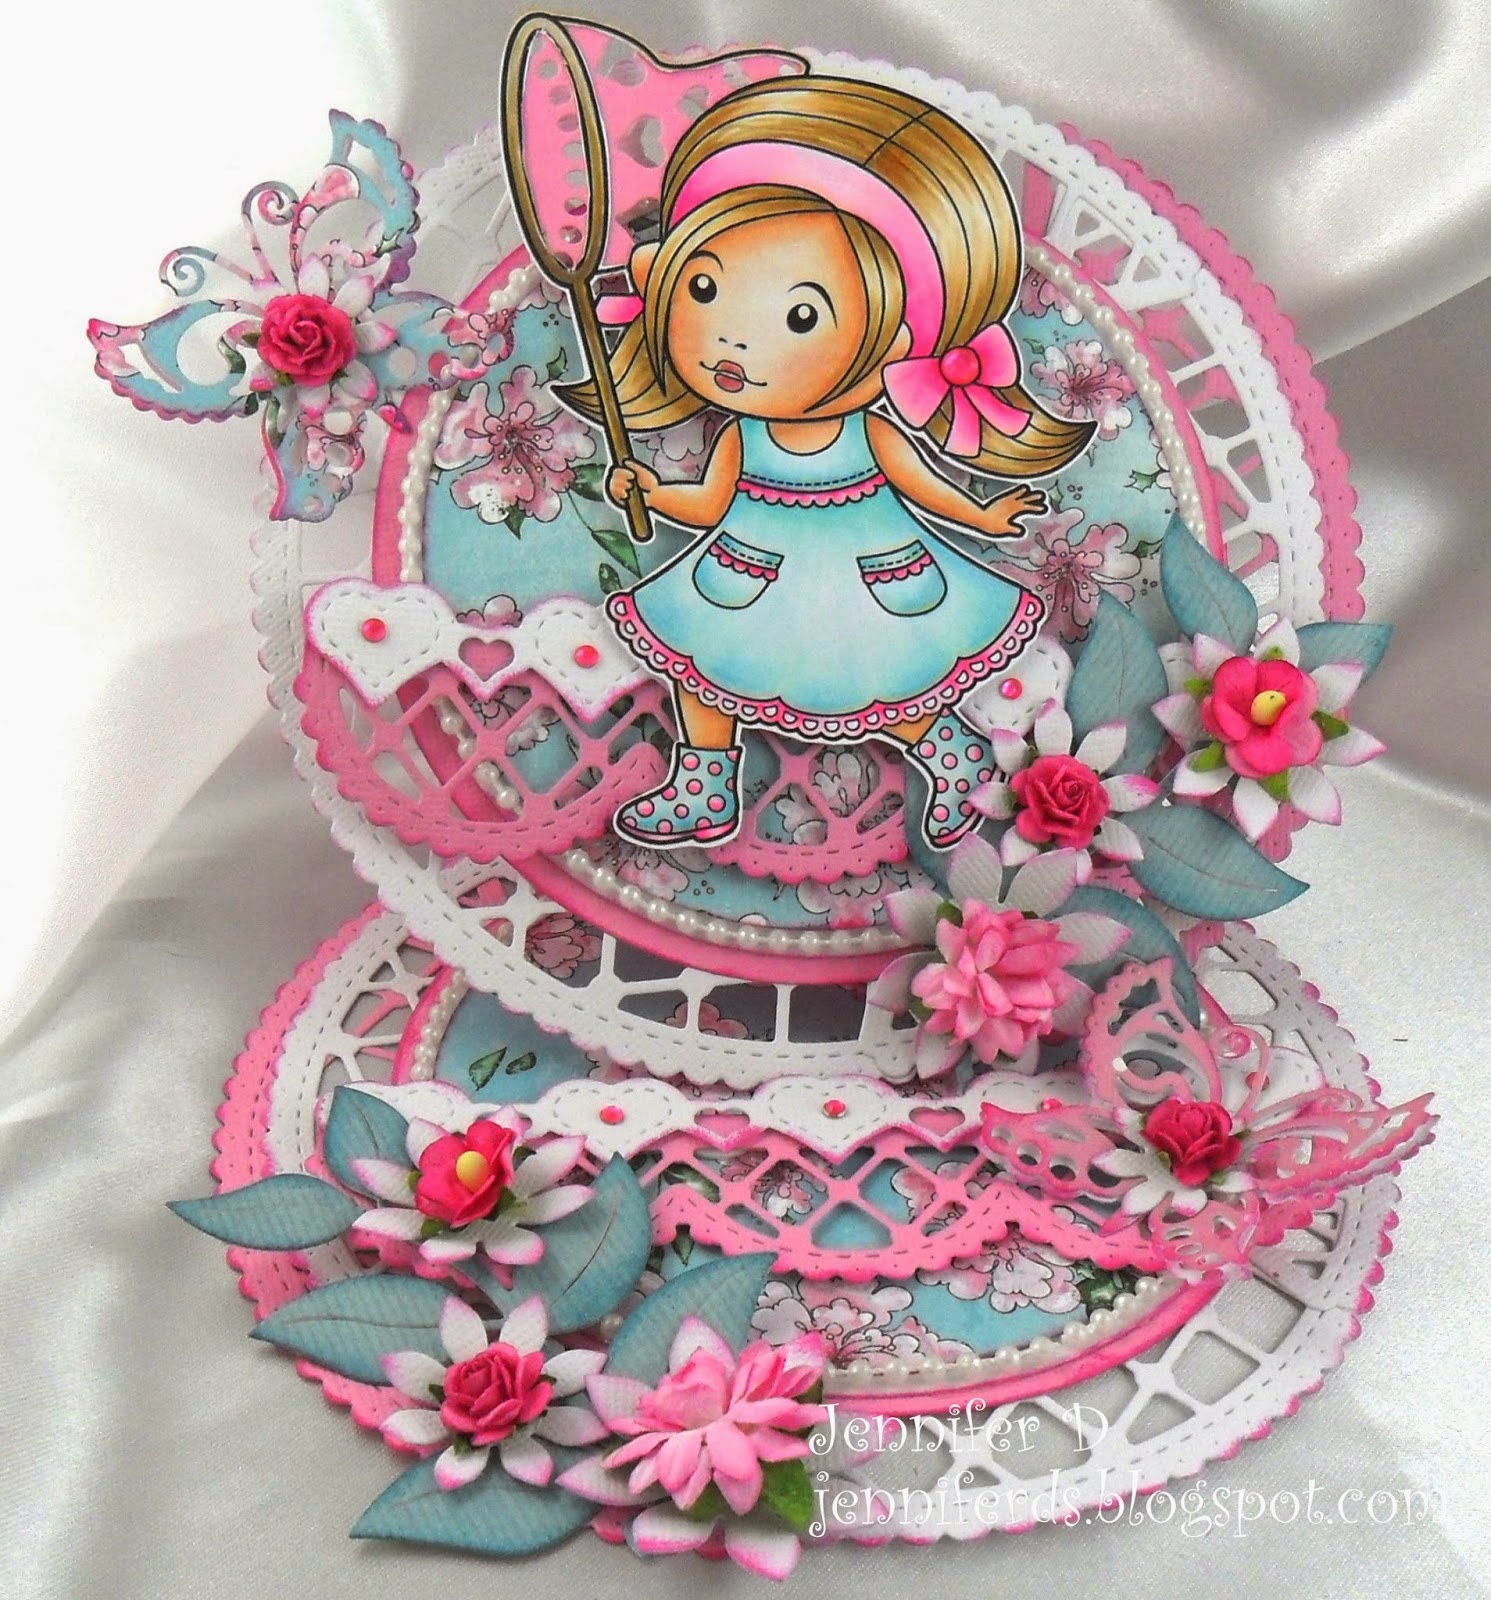
Hi Everyone it's Jennifer here with a tutorial on how I make my
First of all I cut out the Blue circles 11.5cm x 3
White 10.5cm x 2
Snowflake Paper 10cm x 2
I then cut one off these bases using the 11.5cm Circle by folding my
cardstock in half and by putting my die over the edge of the
cardstock so as not to cut the fold keeping it still joined.
I then folded one of the circles in half.
I then Cut Lattice Doily Border Die White x 6
Lattice Doily Border Die Blue x 2
I then glue 3 white Lattice Doily Border Die as shown it works out about four
of the tiny scallops overlapping on each die. Do the same with the other three
white Lattice Doily Border Die.
I then add a Blue one behind the white ones so it peeks out the side.
Do the samewith the second lot of white ones too.
I then stuck the Blue circles on the Lattice Doily Border Die bases
as above and the spare two Blue circles go on the back of the ones you
can see.
I then layer the White circles on the Blue ones
This time I use dimensionals to stick my Snowflake paper on with as it gives
my pearls somewhere to lean and make the perfect circle.
I then tape the folded half and join the top of the Card to it. I do it so
I have a Blue Lattice Doily Border Die on the right on the top and
left on the bottom for balance.
I have used the Lattice Border Die dimentionalised for the Easle to rest on and
stand up.See how I have then ran glue around the white circle and the
pearls lean nicely againstthe Snowflake paper.
I have then decorated my Gorgeous Card Base. Here are some Examples.
I hope you have some fun making these up they are so well worth the effort.


These are so adorable...love how you layer it with the dies...very creative....tfs
ReplyDeleteWhat did you use for the circles?
ReplyDeleteI just use Circle nesting dies dies Noelle hope you enjoy making one
DeleteJust gorgeous cards!!! Thanks for the tutorial of the easel card, can't wait till i get my own goodies and can then "play"!!!! TFS!!!
ReplyDelete