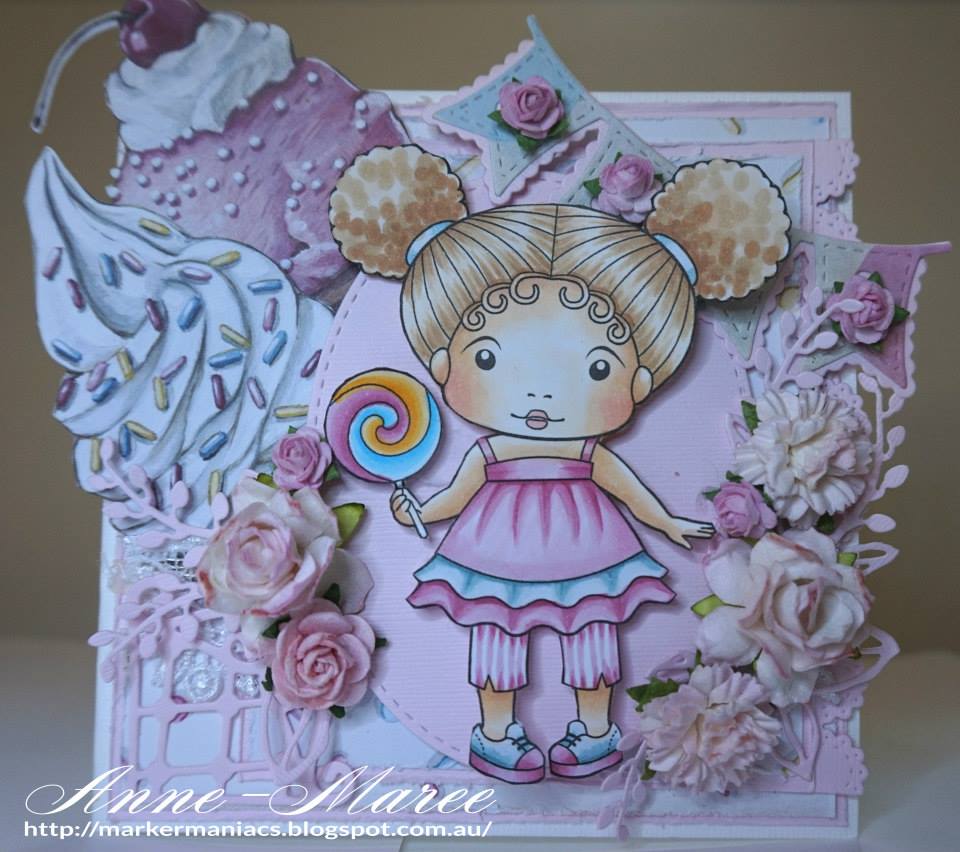
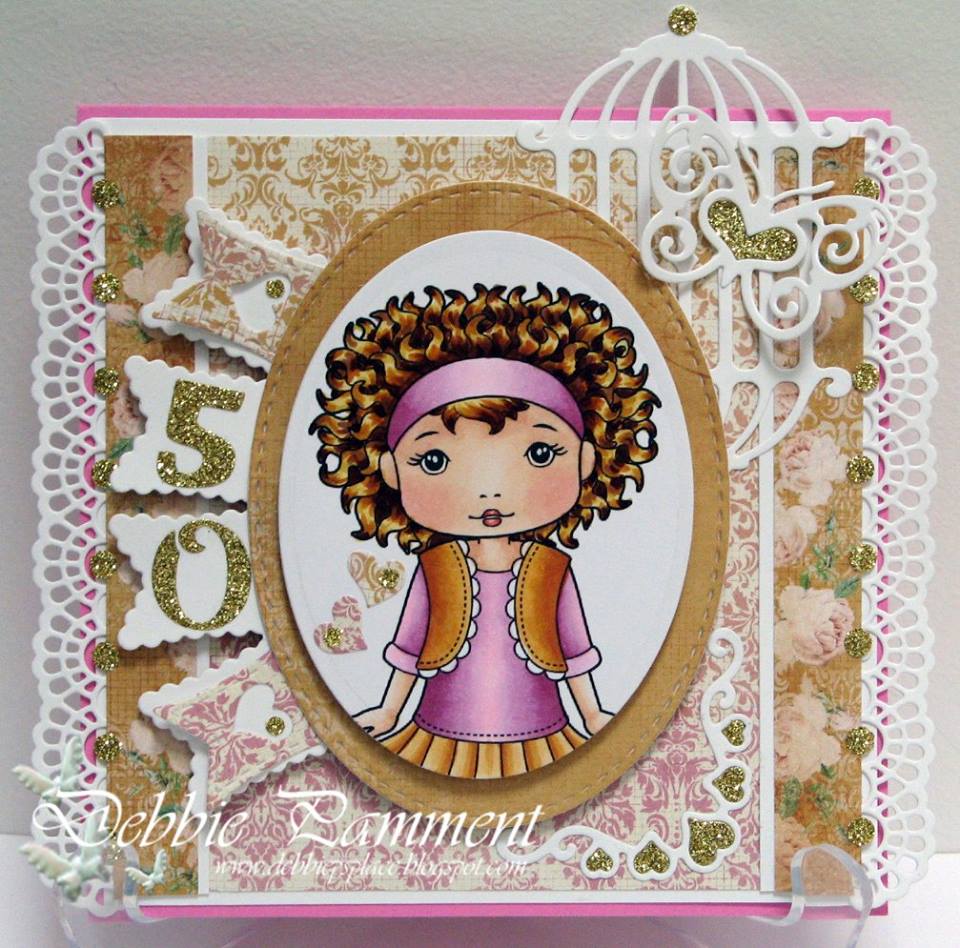
Showing posts with label Lattice Corner. Show all posts

Monday, January 11, 2016

Inspiration Monday - Winter Blues


Hello and welcome to the start of this week's inspiration with the theme Winter Blues. We hope you enjoy seeing what Team Monday has come up with for you and don't forget to pop back during the week to see the inspiration from the other teams.

Copics Used
Skin E50 E51 E21 R00 R20
Hair,E30 E31 E33
Coat Hat BG10 BG11 BG53
Dress Bow Lantern T1 T3 T5

Copics Used
Skin - E11, E00, E000, R20, R11, white paint pen
Clothes - B06, B04, B02, B01, B000, B0000, E44, E43, E40, R11

Ashlee
Stamp - Owl Hat Marci
Dies - Hanging HeartsOpen Hearts Doily Border

Copics Used
Skin - E50, E51, E53, E55, R11, R20
Hair - E42, E44, E47
Skirt - C00, C1, C3, C4
Hat/Shoes/Top - B91, B93, B97, B99

Stamp - Chikadee Marci
Dies - Stitched ElementsWinter BranchesLoopy Doily (July 2015 Club Kit)

Copics Used
Face - E0000, E000, E00, E01,E04, E11, R20
Hair - E31, E33, E34, E37
Jacket, Clothing Trims, Mittons, Bird Wing - B91, B93, B95, B97
Shoes, Scarf, Jacket Trims, E41, E43, E44

http://shop.lalalandcrafts.com/Marci-with-Camera-Digi-Stamp-with-Sentiments-DGS5268.htm
Dies - Small Lacy Border, Lattice Border, Stitched Elements, Wings

Copucs Used
Face - E000, E00, E11, E04, R20
Hair - E13, E15, E18
Outfit - B91, B93, B95, B97, B99, E70, E71, E74, E77, E79

Remember you can play along and join all the La La Land Crafts fun over on our Facebook Page, where you can post all your La-La Land creations, remember you can also find us over on Twitter and our Pinterest boards

Until next time - happy stamping
Debbie and the Team Monday girls
xXx

Thursday, September 24, 2015

Tutorial Thursday - Incorporating LLLC dies onto your Scrapbook pages!


Hello again friends! Arlene here for Tutorial Thursday! ♥

For yesterday's Inspiration Wednesday post, I shared a 12x12 scrapbook page I created of my Mom and I where I incorporated a number of dies from the La La Land Crafts shop. I'd like to share with you how to use your La La Land Craft dies to create a unique look on your scrapbook pages!

To walk you through a step-by-step tutorial on how I incorporated the dies onto the page, click Play to view the video below. After you click play, click the "YouTube" icon on the bottom right to watch on YouTube for the best viewing option.

First, here is the product list so you know what to grab so you can create along with me:

Shabby Flourish die (April 2015 LLLC Club Kit)
"Celebrate You" (May 2015 LLLC Club Kit)
Graphic 45 Gilded Lily 12x12 paper pad
Graphic 45 Gilded Lily 6x6 Patterns and Solids pad
Recollections 12x12 cardstock (cream)
Petaloo flowers
Wild Orchid Crafts flowers
I Am Roses flowers
Pretty Pink Posh sequins
Twine

Don't forget to use the pause button on the video if you need to! ♥


We'd love to see your scrapbook page creations using La La Land Crafts dies. Upload your project to our Facebook page. ♥

Thanks for joining me today!

xoxo,
Arlene

Wednesday, September 23, 2015

Inspiration Wednesday - Something for the Girls!


Hi there, friends! 

It's Arlene here and I'll be your Inspiration Wednesday hostess this week. ♥

We have an inspirational line-up of projects to share with you today featuring
La La Land Crafts dies!

This week's theme is:

Something for the Girls

So without further adieu, here are the projects from Team Wednesday that will be sure to ignite your creative engine!


12x12 Scrapbook page, featuring these dies:
Koi Circle die (Set of 3)Lattice Corner dieLattice Border dieBerry Flourish dieStitched Nested Circles (Set of 7)Fancy Butterfly die, Shabby Flourish die (April 2015 LLLC Club Kit), "Celebrate You" (May 2015 LLLC Club Kit)


Don't forget to join in the La La Land Crafts fun by adding your creations to our Facebook page!

For inspiration visit us on Pinterest and follow us on Twitter!

Have a fabulous day!

xoxo,

Arlene & Team Wednesday ♥

Monday, September 21, 2015

Inspiration Monday - Something For The Girls

Hi Everyone its Jennifer here hoping you all had a great crafty weekend.
Now I am here with the theme for the week and it is

Something For The Girls
Now see how each DT Girl's interpreted the theme.  I have to say each one  looks amazing.


 Copics 
Skin -  E50, E51, E2,1 E11, R20, R00
Hair - E30, E31, E33 
Dress - Ruffle, Pants R81, R83, R85
Ruffle BG70, BG72
Shoes - BG70, BG72, R81, R83, R85

 Copics 
Skin - E11, E00, E000, R24, R20, R11
Hair - E29, E24, YR24, Y26, Y21
Clothes - RV66, RV63, RV52, RV10, YR27, YR24, YR21


 Copics 
Skin - E50, E51, E53, E55, R20, R11
Letter - C00, C1
Hair - E31, E40, E42 
Bags - C0, C2, C3
Pants - V000, V01
Shirt - C00, C1, V93
Bag/shoes - R0000, R81, R83

Copics
Face and body -  E000, E00, E11, E04, R20
Hair -  E13, E15, E18
Outfit and wings -  RV63, RV66, RV69
Flowers -  RV63, RV66, RV69, G24, G28


Copics
Face - E000, E00, E04, E11, E21, R20
Hair - E21, E25, E27, E29
Jeans - B91, B93, B95, B97
Jumper - C0, C01, C03, R24, R27, R29, R59
Shirt - Y21, YR23
Shoes - C01, C03, C05, C07
Letter - C00, C01, C03
Flowers - R24, R27, R29, R59, Y21, YR23, C01, C03, G21, G63, YG99

Also don't forget to join in all the La-La Land Crafts fun by adding
your creations to our Facebookpage and Twitter and for
more Inspiration we are now on Pinterest

Hoping you all have a great crafting week

 Jennifer

Friday, September 18, 2015

Inspiration Friday - Any Holiday


Hey La-La Land fans, we're back for another great inspiration post! DT Stephanie here with you today, and I'm pleased to say that once again, the team did an incredible job at creating more and more beauties! This week, we're showing you cards made for

ANY HOLIDAY!

Let's have a look:


Copics:
Skin: E04, E11, E00, E000, E0000
Hair: E15, E18
Pumpkin: E09, YR09, YR07, YR04, YR02
Outfit: YG99, YG97, YG95, YG93, YG91 + YG00
E79, E77, E74, E71
N8, N6, N4

Dies: Arched WindowBroken FenceStitched Elements (set of 7)Snowflake BannerWinter Branches Set (October 2014 kit)
Colour pencils:
Skin: Prisma Premier PC939, Derwent Coloursoft C130;
Hair: Prisma Premier PC1080.

Distress markers and Spectrum aqua markers used:
skin: vintage photo
cheeks: worn lipstick
hair: antique linen, walnut stain
coat: weathered wood, victorian velvet
hat: moss (SA), weathered wood, black soot
bell: moss (SA), fawn (SA)
shoes: walnut stain


Copics used :
Skin (E000-00-21-11-13-04, R20)
Hair (E43-44-47-49)
Clothing (B00-01-02-05, R20-22-24-35-46-59-89, E30-31-34)


Dies: Christmas Hill BorderSnowflake BannerStitched Nested CirclesStitched Elements (Star), Christmas Tree
Copics
Skin: E000, E00, E11, E21, R11, R20
Hair: W3, W5, W7, W9
Reds: R32, R14, R35, R37, R39
Boots/ ribbons: W3, W5, W7, W9
Shading on Gifts: BG0000, BG10


Don't forget you can play along and join all the La La Land Crafts fun over on our Facebook Page, where you can post all your La-La Land creations, remember you can also find us over on Twitter and our Pinterest boards

Happy Holiday Crafting to all of you from
Stephanie and the Team Friday girls

Thursday, September 10, 2015

Tutorial Thursday: Quick card with stamp, but no colouring!


Hi everyone!

DT Stephanie here with you today, and it's my turn to inspire you with a tutorial! Right now, my mind is all about quick, simple but elegant techniques and cards, so I figured it might be your case, too. Well, you'll be happy to use your favourite brand of stamps onto a card WITHOUT any colouring! The whole process takes few minutes and looks quite different!

So, here's what you'll need:
Scraps of papers
Your favourite La-La Land image (ideally without any fine details on the outside; you'll see why)
Sharp scissors and/or craft knife
Ink and mounting block

In this case, I used the cutie-cute Bumble Bee Marci, and the Lattice Corners from our latest release!


First, cut your cardbase at 4"x11", and score it in half. You'll get a 4"x5.5" panel.


Add any background paper that you can find from your scraps.


Add the Lattice Corners, just because they're irresistible!


Now, to the big part. Mount your stamp on the acrylic block, ink it, and stamp on a piece of matching cardstock.


Once stamped, cut your piece of cardstock to 3"x4". You shall obtain a nice frame all around your image. Next step is to cut your shape out of it, with your sharp scissors/craft knife. 


Don't bother being precisely on/close the outside line of your stamp, as you will outline it with a black marker for a finishing touch.


Now, glue your frame to some scrap paper from your stash that matches the rest of the card.


All you need to do is to put it on 3D foam dots, stick it to your card, and you're on!! I added a brad to each corner and some twine, but really, all you see is that awesome silhouette of  Bumble Bee Marci!

And here's the result!


Thanks for being with me today, I hope you'll give this technique a try and share it on the Facebook group as well!

Thursday, September 3, 2015

Tutorial Thursday: Beaded Stickpin Butterfly Embellishments


Hi fellow crafters, Cathi here!! This week I want to do a tutorial using some metal stickpin embellishments, making them into gorgeous butterflies by adding the Decorative Corner Dies.  They turned out beautifully but really are a quick and simple technique!

Now I don't want to spend a lot of time doing a tutorial about the beaded stickpins, I want to focus on using the Decorative Corner Dies and how to turn two of the corner dies into a beautiful butterfly embellishment! So, I will do a quick description about the beaded stickpins only. To start off with you can buy decorative stick pins with pearl or beaded heads in many different lengths, such as the one below:


Just use liquid glue to glue the beads you choose onto your stickpin and hang them or prop them upside down to dry overnight till they are on solidly. You can make them any way you wish, there are so many beads to choose from!!


To make the butterfly wings simply cut out two sets of whatever size corner flourish you choose. I have used the Decorative Corner Dies for my samples, but here I am cutting out several of the La-La Land Crafts corner dies, Decorative Corner DieScroll Corner Die, Filigree Corner Die and Lattice Corner Dieon my die cutting machine to make several different examples!


I just used my hot glue gun to take my two corner flourishes and adhere them together.


Next use the same strong hot glue to glue your stickpin to your newly made butterfly!


I folded up the die cuts to make the butterfly more dimensional and that is it! Simple and so pretty! Here are a few more I did using other La-Land Crafts corner flourishes!


Here are some closeups of the stickpin embellishments in a layout. The Decorative Corner Die comes in two sizes so I was able to make similar butterflies in two different sizes!
They would work equally well on a card.


Have any of the La-La Land corner flourishes? 
Why not try one of these fun and pretty embellishments for yourself!