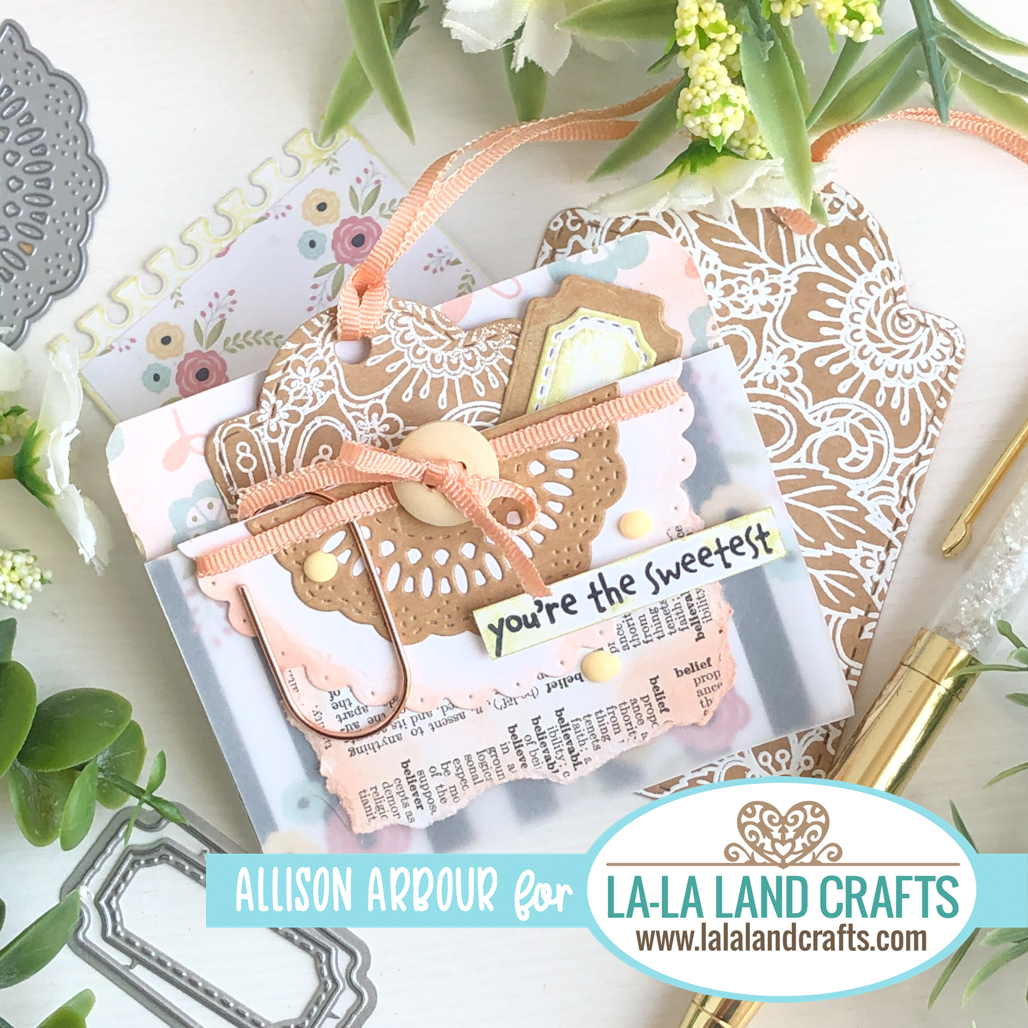
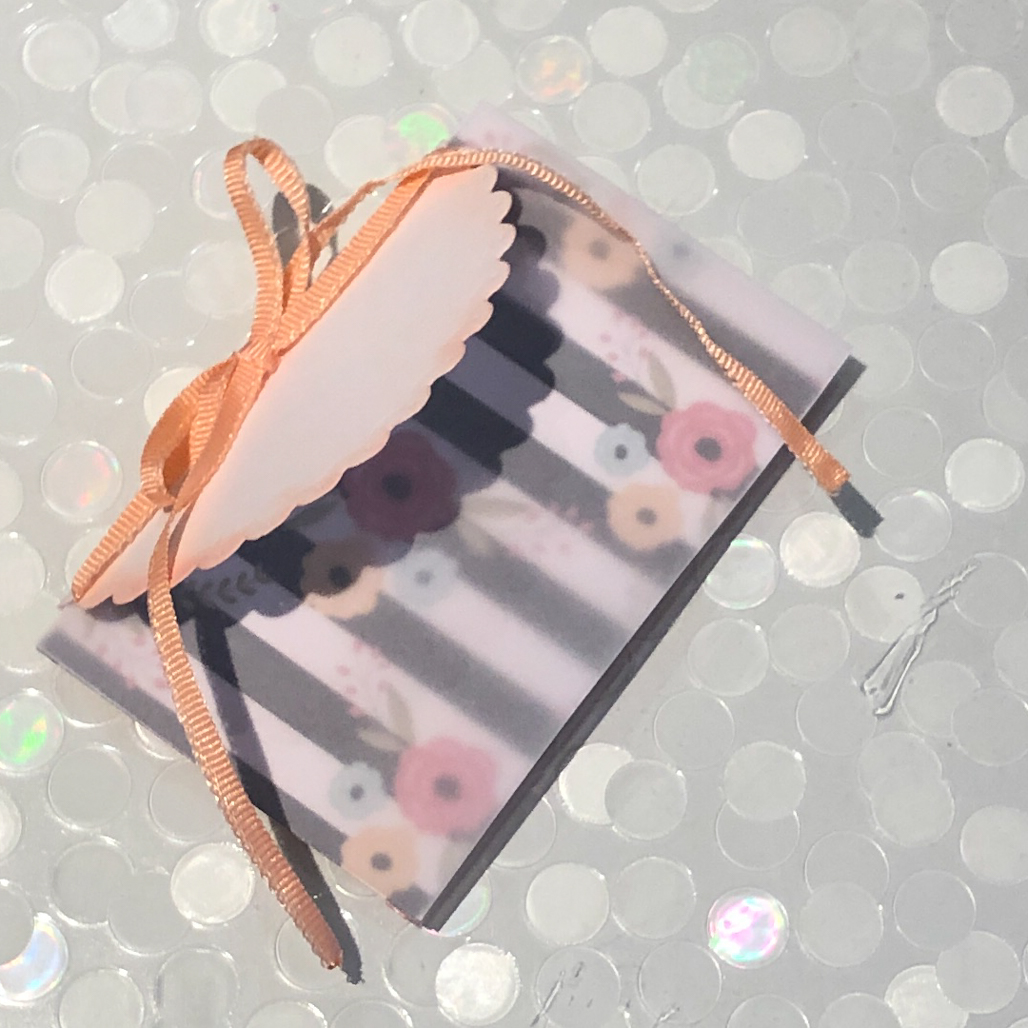
Hello everyone! Welcome to Tutorial Thursday!
ALLISON here with you today to share a tutorial with you!
Today's tutorial is: QUILTED DOUBLE POCKET BOOK
A double pocket book decorated in a quilt style pattern


PRODUCTS USED
COPIC COLORS
Duck - E53,50,0000,13,YR30,YR31
Orange - YR16,18,Y17
Blue - B52,B000,B01
Yellow - YR31,30
PAPER CUTS & SCORING
Coloured Card Stock base cut to 6.5" x 3.5" and
Scored at 3.25"

~ now for the tutorial you have been waiting for ~
Start by die cutting around 20-22 hexagon shapes from patterned paper. I used the 2nd smallest from the nested hexagon die set.
Glue hexagon pieces to coloured card stock cut at 6.5" x 3.5" and scored down middle at 3.25" in quilt pattern.


Trim off the over hang of the scallops and use the cut offs to fill in the remaining few small areas that didn't have a hexagon shape glued down on.


Gently and repeatedly work at score line again to help hexagon shapes fold over.
Use corner rounder to round out edges.

Cut two of the second smallest scalloped hexagons from the Tales Of Oz Paper Pack. These are the tabs. Glue about 1/2 of the scalloped hexagon tag to inside of front and back cover.

Cut two 3"x3.25" panels from the Tales Of Oz Paper Pack, corner round them and glue to inside of book on each side.

Cut both a left and right pocket using the pocket dies and use the corner rounder on both bottom corners of each pocket and glue to inside of book.


Cut the second largest Nested Frames Die from Tales Of Oz Paper Pack and ink blend edges with antique linen oxide ink. Trim off maybe 1/2" and glue flat to front cover.

Die cut Poppies and ink blend edges of them with Saltwater Taffy oxide ink. Attach poppies adding white highlights and dots to the petals.
Colour duck and attach with dimensional tape.

Stamp sentiment and attach with dimensional tape.
Hole punch tags and tie with ribbon.


We hope that you are inspired to try out your own creation with the amazing stamps and dies from La-La Land Crafts!
Make sure to join our LLLC FAN GROUP on Facebook for more ideas,


inspiration and a general chit chat about our products!
Hoping you all have a great week of Creating
ALLISON
Click on the buttons below to find us on these social media sites: