Hi all,
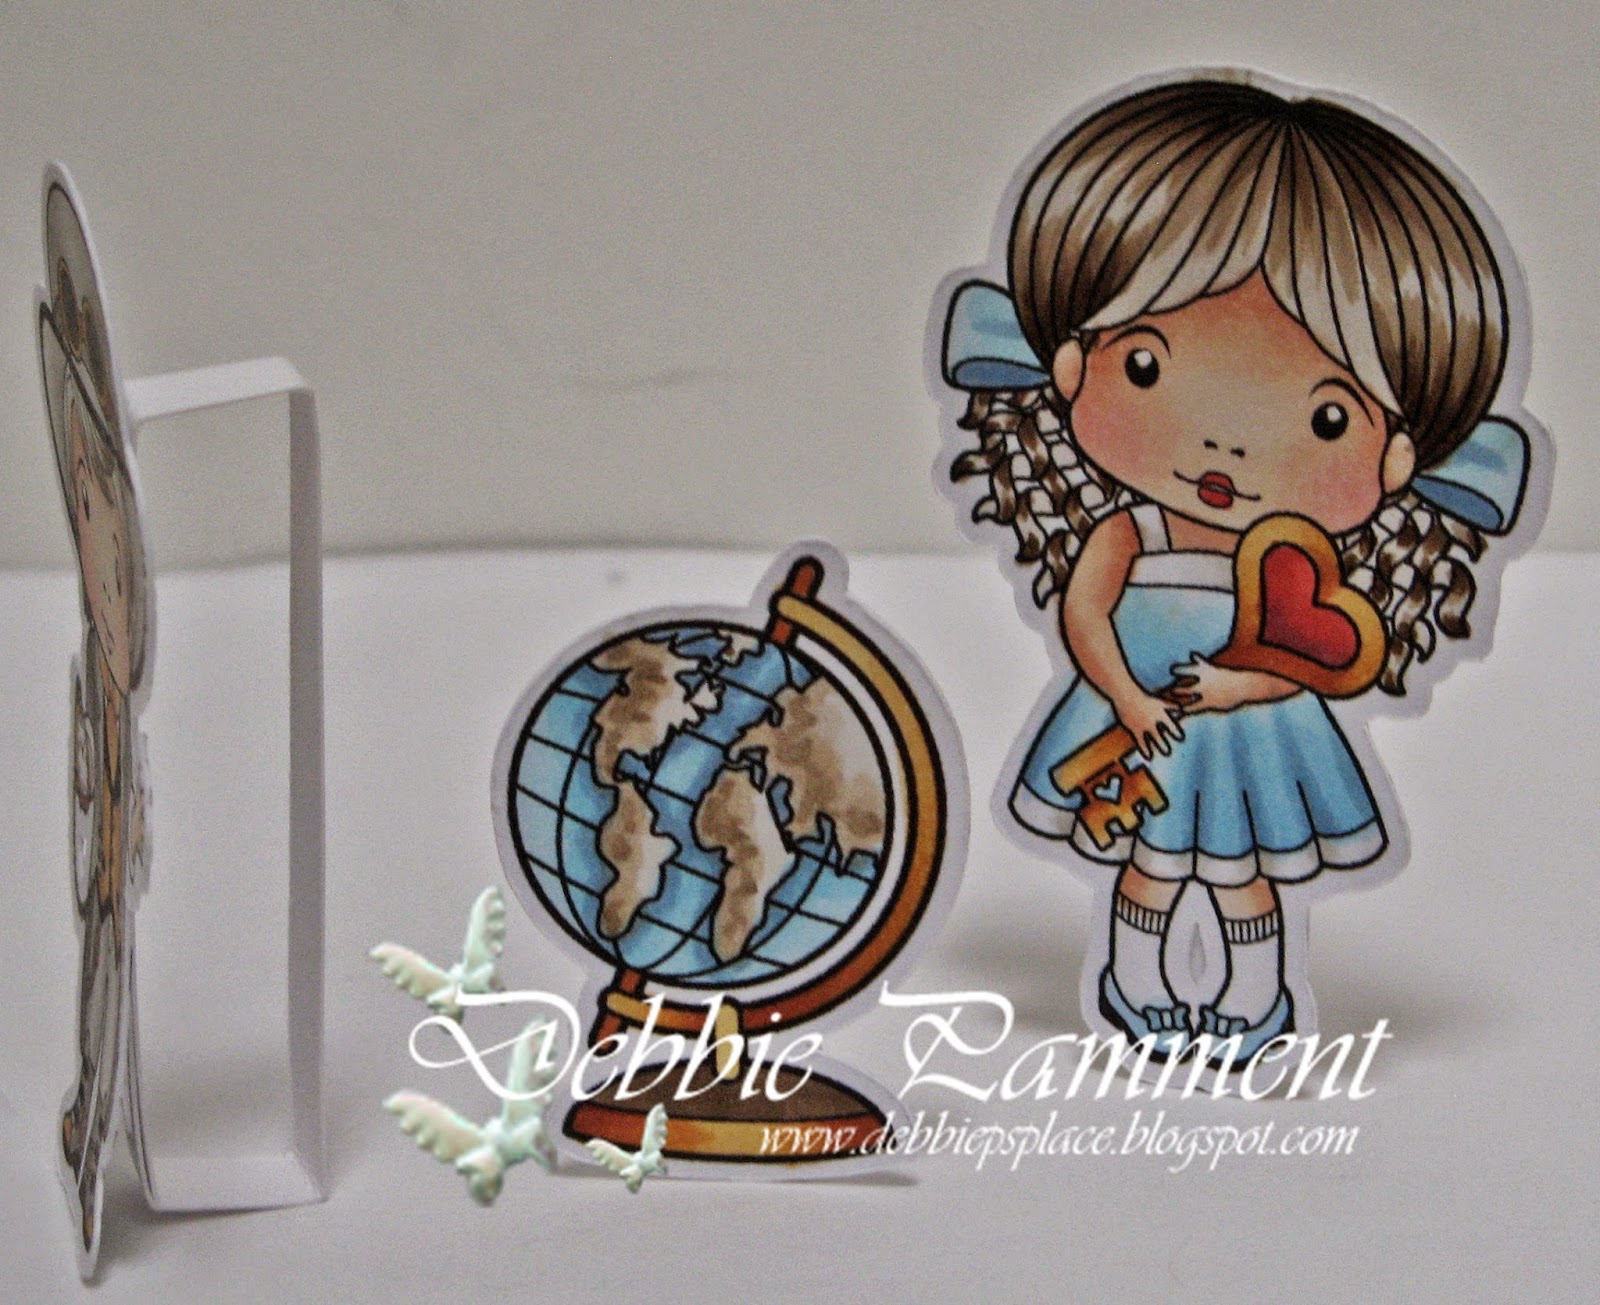
Debbie here with a fun little project I came up with over last Christmas. I wanted to make a little Wonderland top hat scene using the gorgeous Top Hat SVG file from La-La Land Crafts.
These are some of the samples made at last year's La-La Land Crafts retreat using the hat as a hat. The hat is such a gorgeous design with the slanted side, oval base and round top.
And now onto my diorama idea. Here's the first one I made and as a result the gals asked me for a tutorial. For this hat I used white core textured cardstock and sanded the pieces before putting together.
And now onto the tutorial - apologies it's so picture heavy but I've always been a visual learner.
From the top hat file you'll need to cut..
1 x card tabbed side piece
1 x tabbed piece in patterned paper to line inside
3 x card circles (top of hat)
2 x card brim pieces - remove the central circle from one piece before cutting to create the base.
Plus..
- character images printed, coloured and cut at 2 1/2" high
- decorations
Fold the tabbed piece of card in half to create the hinge and re-inforce the inside with tape. This will be covered.
Trim the tabs off on a slight angle on the right hand side.
Make a small snip in towards the centre of one of the circles so you can get a small pair of scissors in later.
Overlap the edges of the side making sure the trimmed off section is to the front. Line up the tabs so they sit side by side. I use a peg to hold it in place. You'll be attaching a brim piece to the narrower end.
The brim piece is oval so make sure the fold and overlap are set at the long end of the oval. Slide it over the tabs.
Fold tabs down and glue in place. Use a strong fast acting glue.
Turn the hat over and start gluing the top tabs down onto the circle you cut previously. Start at the snip and stick a few tabs down at a time. Work your way around.
Use a piece of washi tape inside and out to help form the hat - this doesn't hold too well but it doesn't tear the card when removed either.
Cut the brim section from the outer edge to the inside edge of the overlay. Cut the top from the snipped section to the back "hinge". This may not be the same each time so needs to be done on an individual basis.
To make sure your hat can open wide enough you need to cut a slight V out of the back of the brim up to where the hinge is.
 Mark when the cuts are on the large base piece and cut in half between the marks. Attach to the base of the hat covering the tabs.
Cut another of the circles in half to match the left side of the hat. Discard the other half. Glue in place to cover the tabs. Glue the last circle as a whole to the top right side of the hat.
 And here's your blank diorama ready to decorate. To cover the inside "walls" of your diorama trim the tabs off of your tabbed patterned paper and glue to the inside. Trim off any excess. You can also do the same on the outside of the hat like I did with my next sample.
To hold the hats closed I used a bit of velcro on the end of the booktab piece.
I went with a more Steampunk theme for this one. Using embossed paper instead if patterned paper on the inside.
Hope you think this a fun idea and if anyone makes it please be sure to come back and share it with us - we have a Facebook Page HERE and a Facebook Group HERE.
La-La Land Products Used
Happy Crafting
Debbie
xXx


I love your top hat. Super cute. I bought the svg file last night. Do you have a tutorial on how to open and use the cut file? I have sure cuts a lot and the cricut expression 2. I also have the scan n cut and ScanNCut Canvas. I have tried to open it in my Sure Cuts Alot but nothing came up. do you have any help for me? Thank you so much for any help in advance. PS Love the hat :)
ReplyDeleteHi Lori, I hope you were able to figure out how to open the file. If not, please email us at info@lalalandcrafts.com and we will do our best to assist you.
Delete