


Hello everyone!
I don't know about you, but I'm ready for spring.. It's been cold, and wet with short days for long enough! I'm ready for warmer weather, colorful flowers, and baby animals!
So today I'm going to show you how to create a fun Spring Wreath!

Here's what you need:
Also:
White Cardstock
Memento Tuxedo Black ink
Copic Multiliner
Eclipse Masking Tape
a pencil

Cut a cardstock panel to 5 x 3 3/4".
Very lightly trace the 3rd largest circle die with your pencil. You want the line to be as light as possible (but still be able to see it) so it will erase later.

Create some masks.. Stamp the sitting chick and the flower onto some masking tape and fussy cut out. Eclipse tape is thin enough that you can stack several layers on top of each other to create multiple masks at once. You will want at least 3 flower masks.

Stamp the sitting chick at the bottom of the pencil circle.

Cover him with his mask...

Start stamping your flowers.
You will want to stamp one, then mask it, then stamp the next one. Use your pencil line as your guide. Masks can be removed, then reused once you are completely past any given flower.
Continue stamping and masking around the circle until you reach the other side of the chick.
Remove masks and carefully erase the pencil line.
Now you are ready to color!
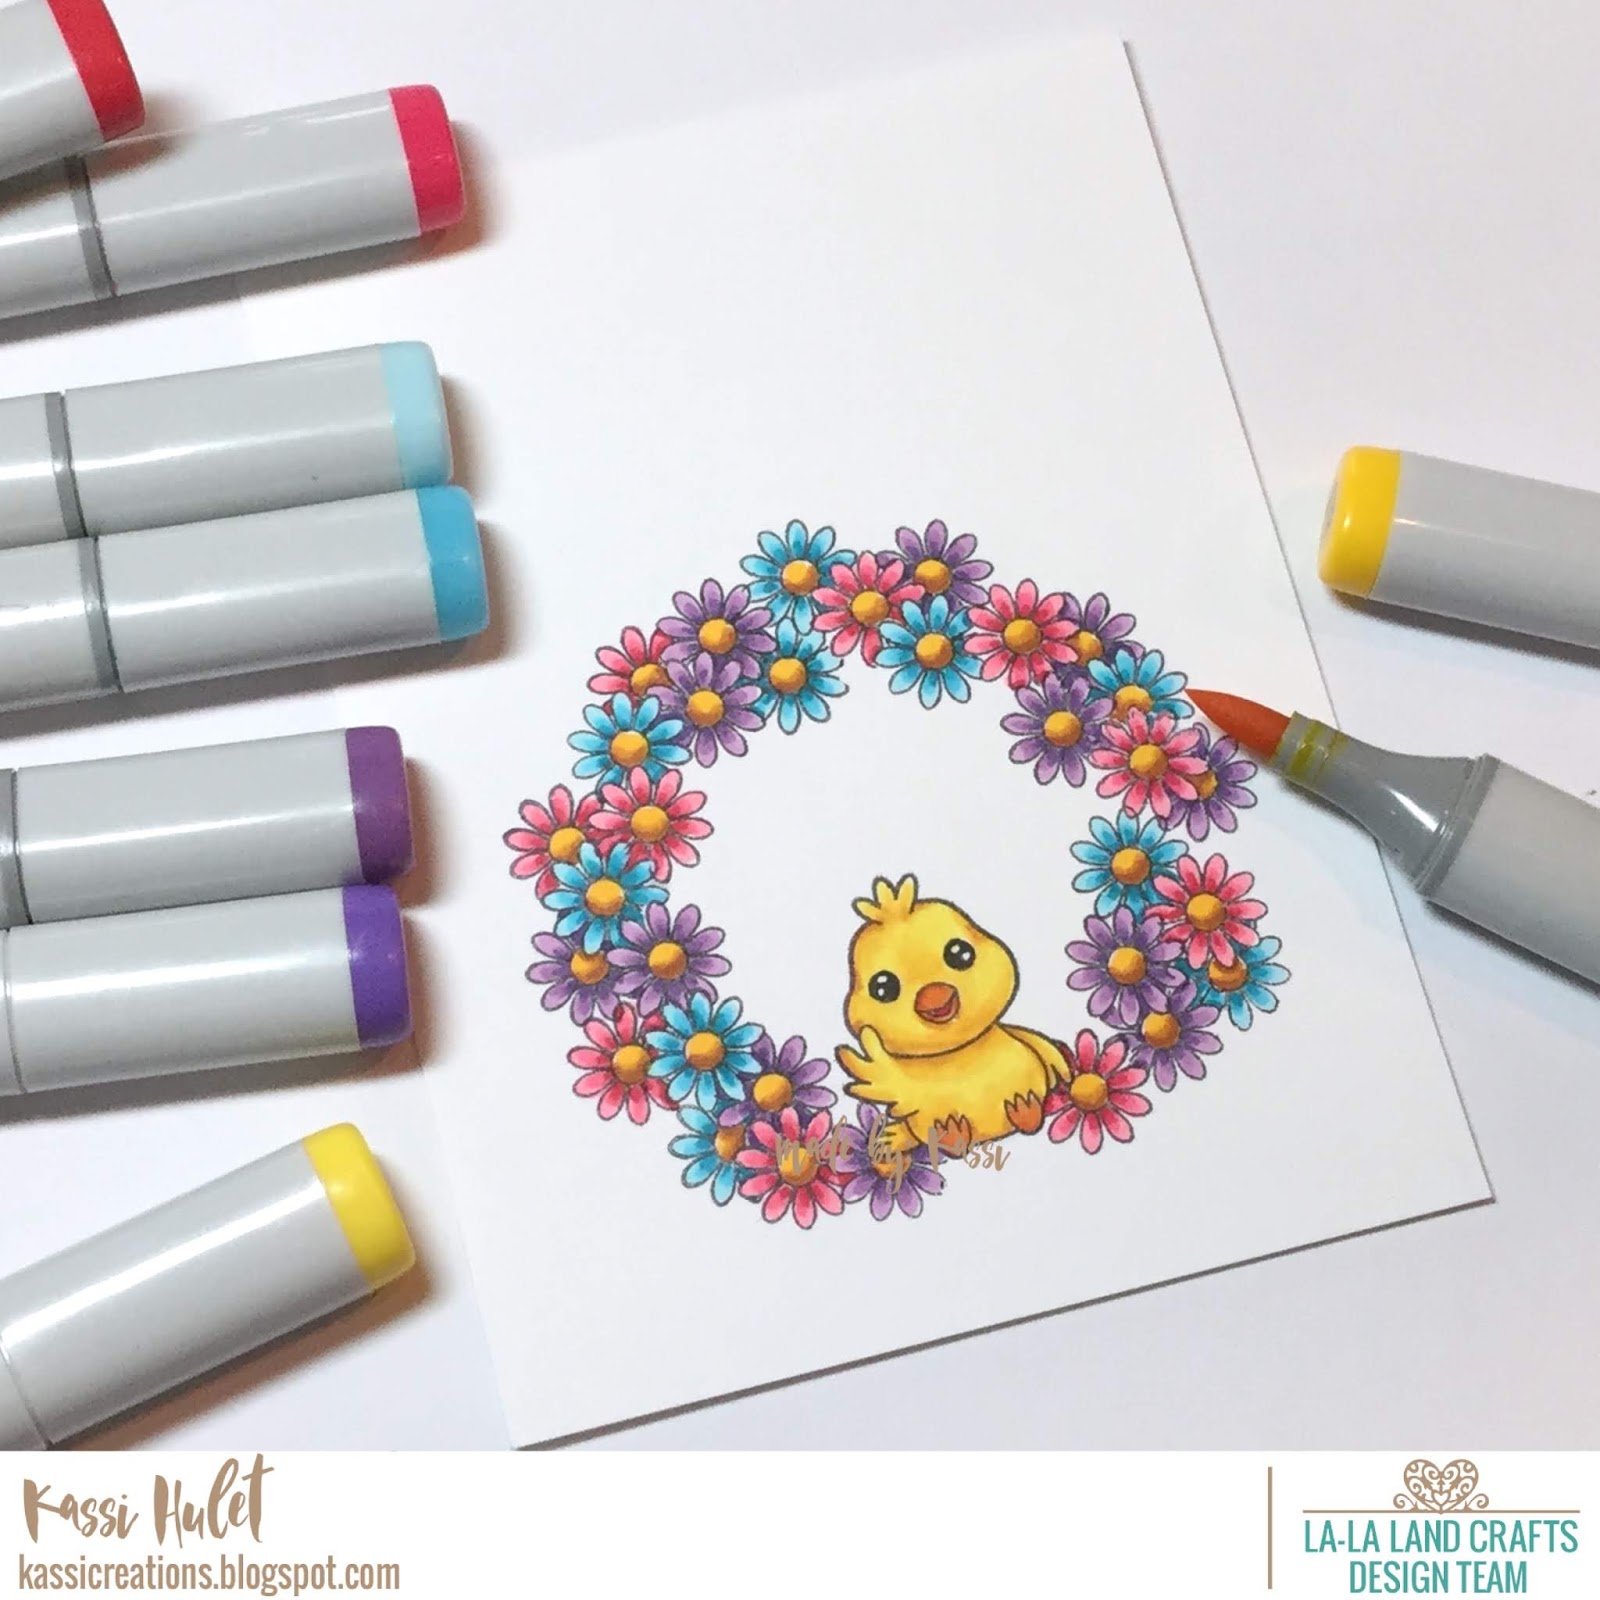
I used Copics for mine...
Yellow- Y13, Y15, Y18, YR24
Orange- YR15, YR16, YR18, BV00
Pink- RV23, RV25, RV29
Purple- V12, V15, V17, V09
Blue- B00, FBG2, BG07
Gold- E99, YR24, Y18

Draw in a line to hang the wreath from the top using the multiliner. You can also add dots for more whimsy!

Cut another panel at 5 1/4 x 4" and color the edges with a marker. I like to run the chisel tip of my Copic along the edges. Doing this allows you to quickly and easily create matching layers without having to have tons of different cardstocks!

Adhere your colored panel to a 5 1/2 x 4 1/4" card base.
Stamp your sentiment on the stamped panel, then adhere on top of the colored panel.

To embellish our wreath, I think it needs a bow...
I love the bow that comes in the Jingle Bells Wreath set...
If you want to add dimension and life to your die cuts, color them just like you would a stamped image... it makes a WORLD of difference!

Adhere bow where the string and wreath meet.

Die cut and color the hearts on the bottom of the tag in the Photo Elements set. These tiny hearts make the perfect embellishments!

Adhere the hearts around the chick to finish it off.
The bright colors, flowers, and little chick all make me so happy!
I hope this gets you in the mood for spring, and inspires you to try your own wreath with La-La Land Craft stamps and dies! It's fun and easy!
See you soon!
Kassi
Super cute! Plus I have everything to make it! Thank youQ
ReplyDelete