


Hi, today I will make a Gift Bag and I will use several dies to decorate this easy box.
Let´s start it with the template:
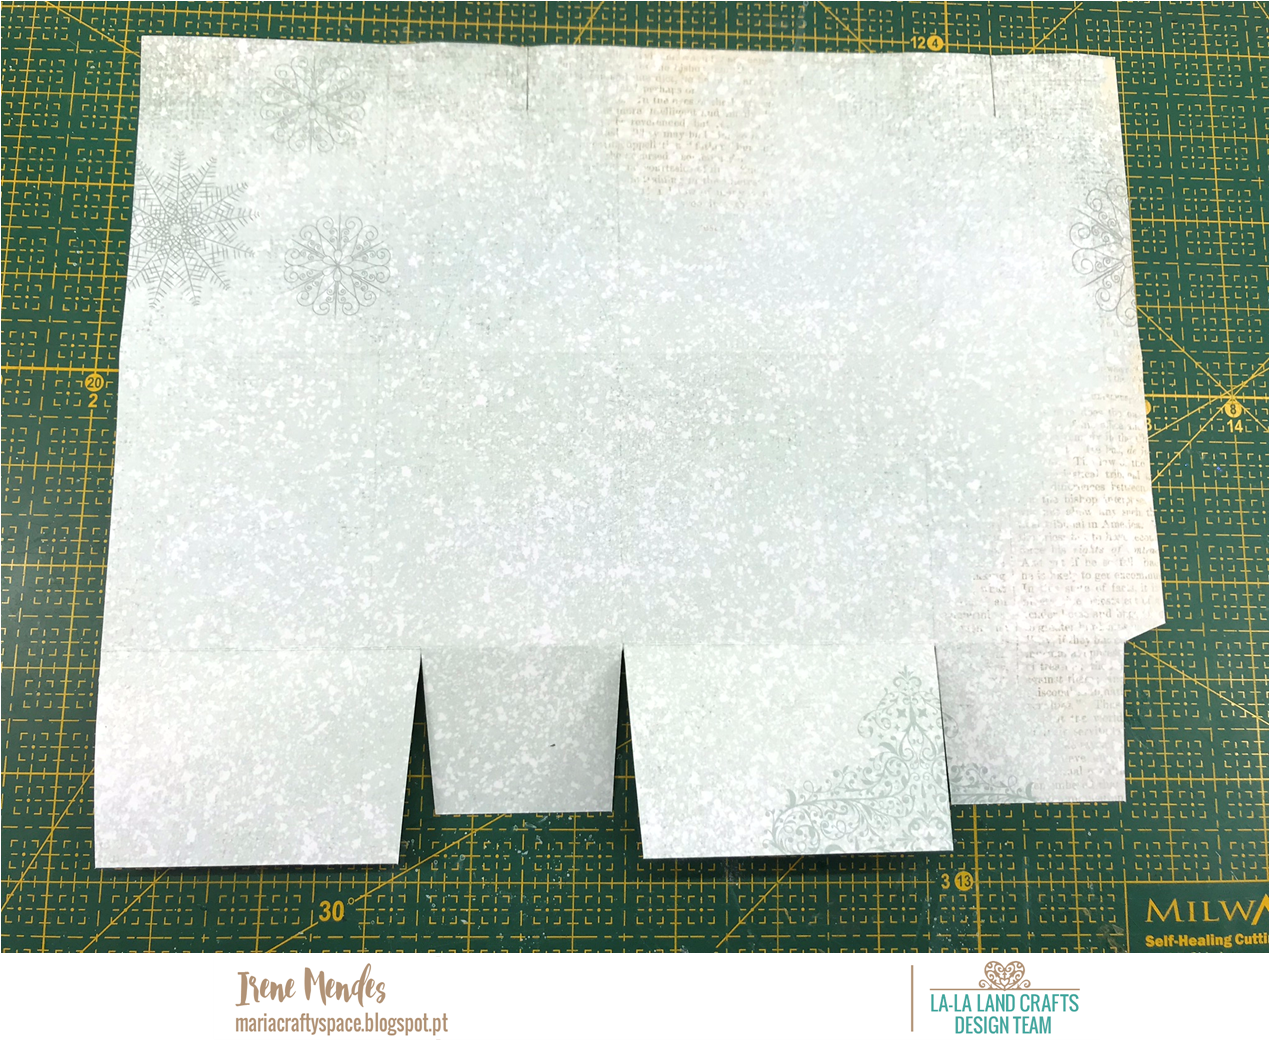
Step 1: Cut a rectangle with a decorative paper of your choice and follow the template measurements as the picture

Step 2: This is the small bag already cut according to the template...
Step 3:
Bend all the lines very well and glue the box together to create the bag


Step 4:
Assemble the box by molding it to its shape

Step 5:
Now I will use the Scalloped Rectangles Die to cut my cover, like this....

Step 6:
Mark the middle of the rectangle 1cm

Step 7:
Now place a silk ribbon of your choice and cut a very generous bit like 23cm
and glue it in the middle of the full length rectangle

Step 8:
Cut another Scalloped Rectangles Die glue it again over the silk ribbon...
This way when we close the box we will not see the inside out of the first rectangle of the lid creating a more beautiful finish...

Step 9:
Let's now fold and glue the top of the bag, that is the 1.5cm we left initially. so the box will look more elegant and without any imperfection when we put any gift in it...


Step 10:
Now let's attach the flap to the box that will be the cover so we can decorate this little bag.


Step 11:
Now comes the most fun part ... Decorate our Gift Bag and use as many dies as we can so it gets rich in details...

Produts:
Now give wings to the imagination and be creative...


I hope to have inspired you...
Hugs,

Click on the buttons below to find us on these social media sites:


Have a great weekend!!
No comments:
Post a Comment